
Diagnostic Summary
Whirlpool-manufactured refrigerators utilize a series-wired low-voltage DC circuit for interior lighting. When an internal driver diode or surface-mount LED fails on any individual module—most commonly the ceiling master light—the entire circuit experiences a voltage drop. This causes all connected compartment lights to blink rapidly like a strobe, emit a faint glow, or shut off completely. Replacing the defective module (Part # W11048980) restores circuit continuity and returns lighting to full brightness.
1. Verify Refrigerator Model Compatibility
To confirm part fitment, check your refrigerator model number against the factory rating plate located inside the cabinet.
- French Door Models: Affixed to the upper interior left or right wall of the fresh food compartment.
- Side-by-Side Models: Located on the upper ceiling liner or behind the top crisper bin.
Enter your refrigerator model number to verify direct fitment for LED Module W11048980.
Database covers over 1,800+ Whirlpool, Maytag, Kenmore 106-series, and Amana configurations.
2. Symptoms & Root Cause Probability Analysis
| Suspect Component | Probability | Observed Symptom | Field Test Procedure |
|---|---|---|---|
| LED Light Board (W11048980) | 80% | Ceiling or side lights strobing/flickering, dimly lit, or fully dark across multiple compartments. | Inspect board for blackened or discolored LED diodes. Check DC input voltage across harness (approx. 12V–14V DC). |
| Door Plunger / Magnetic Switch | 15% | Lights remain completely off when opening either door, but other display console functions operate. | Depress door switch manually while testing terminal continuity with a digital multimeter. |
| Cabinet Wiring Harness | 5% | Intermittent lighting failure occurring only when moving or opening French door hinges. | Inspect lower door hinge wire bundle for pinched or severed conductors. |
3. Repair Cost Analysis: DIY vs. Professional Service
| Expense Category | Professional Appliance Repair | DIY In-House Replacement |
|---|---|---|
| Diagnostic / Service Call Fee | $90.00 – $130.00 | $0.00 |
| Standard Labor Rate (1 Hour Minimum) | $100.00 – $160.00 | $0.00 (10–15 mins DIY) |
| Part Retail Price Markup | $65.00 – $95.00 | $24.99 (Factory Direct) |
| Total Estimated Expense | $255.00 – $385.00 | $24.99 |
| Turnaround Time | 2 to 5 Days (Scheduling + Diagnosis) | Same Day Shipping / 10 Min Fix |
4. Required OEM Replacement Assembly
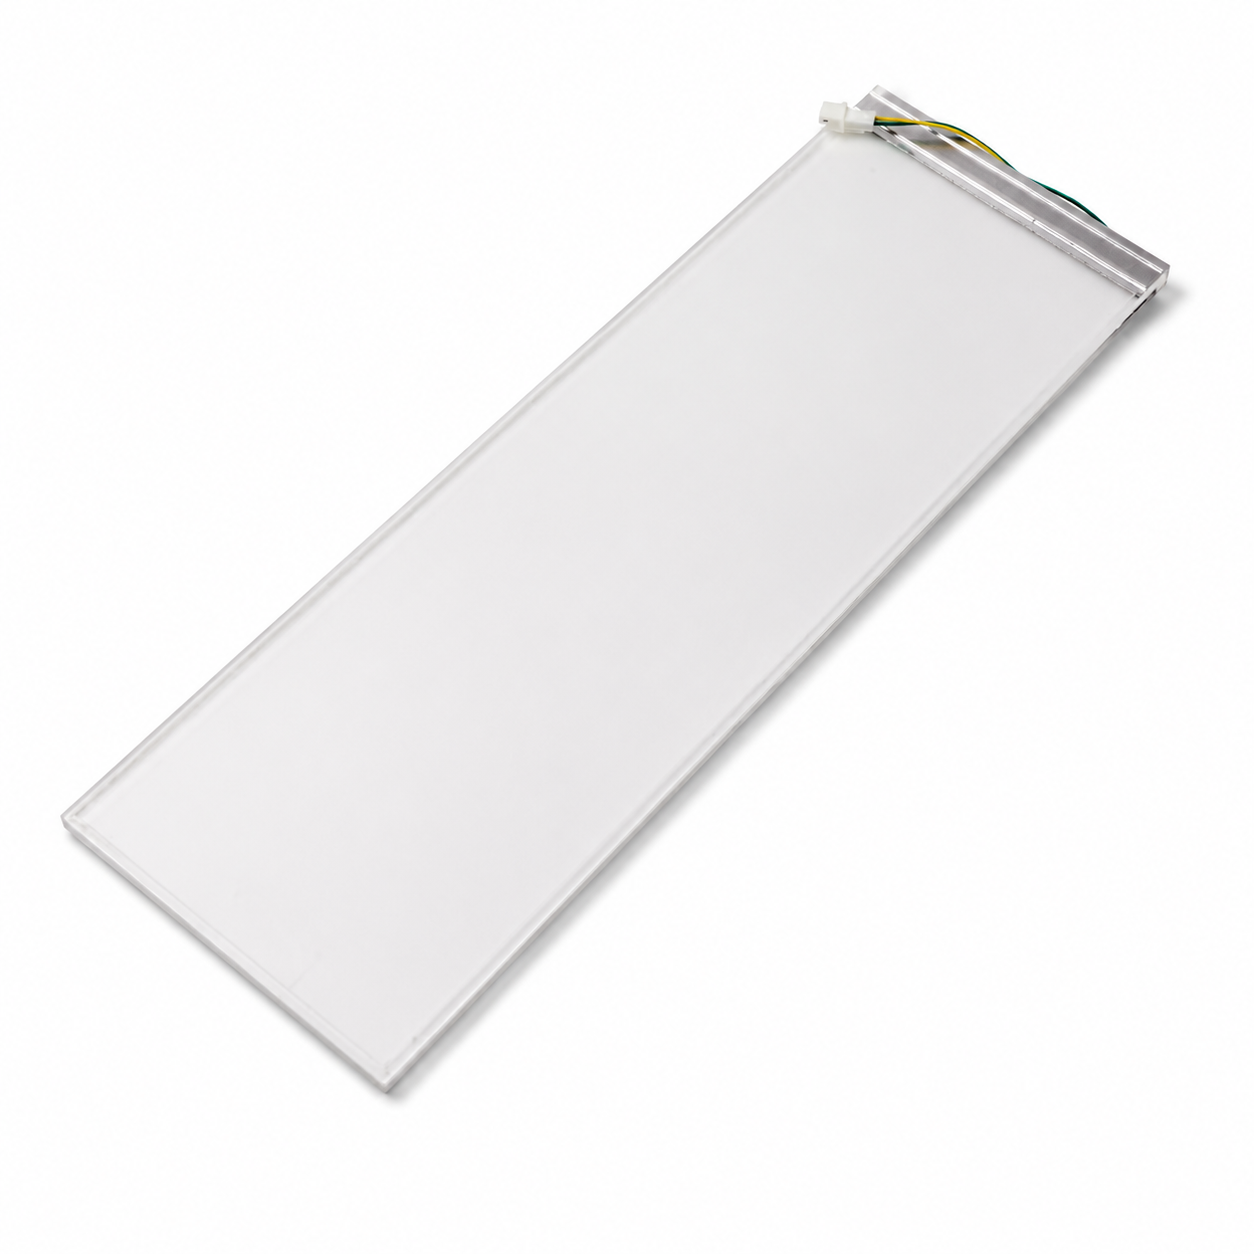
W11048980 Refrigerator Interior LED Light Board Assembly
Cross-Reference / Replaces: W10866538, W10770503, 4533926, AP6047972, PS12070396, EAP12070396.
Guaranteed Fit: Whirlpool WRF555SDFZ, WRF535SWHZ, WRF560SMYM, Maytag MFI2269FRZ, MFI2570FEZ, Kenmore 106.51763510, 106.51793410, and Amana AFI2538 series.
- ✓ 365-Day Return Guarantee
- ✓ OEM Factory Certified Specifications
- ✓ 1-Year Full Replacement Warranty
5. Step-by-Step Replacement Instructions
Required Tools
- Small rigid putty knife or flathead screwdriver
- Clean microfiber cloth or work gloves
Identify the failed module (typically the central ceiling module above the top shelf in fresh food compartment or side wall flush modules).
Insert a small putty knife into the pry notch on the side of the clear lens bezel. Gently pry outward to disengage retaining tabs until the bezel drops down.
Press the small locking clip on the 2-pin connector and pull the harness straight out from the circuit board socket.
Depress the plastic tabs securing the circuit board inside the bezel frame. Slide the defective board out.
Position the replacement board into the bezel, ensuring proper alignment with mounting posts. Press down until clips snap firmly.
Plug in the 2-pin harness connector until it locks. Push the complete bezel assembly upward into the liner opening until all clips snap flush.
6. Testing & System Verification
- Restore Power: Plug the refrigerator back into the 120V outlet.
- Open Doors: Open fresh food compartment doors.
- Verify Steady Illumination: Check that the ceiling master light and all secondary modules illuminate immediately at 100% brightness without strobing or flickering.
- Test Door Switches: Manually press door switches to verify lights turn off and re-illuminate promptly.