

Diagnostic Summary
When a Whirlpool refrigerator stops producing ice or yields undersized, hollow cubes, the failure typically stems from one of four root causes: a restricted or kinked water supply line, a clogged or unseated water filter reducing flow rate, an elevated freezer temperature exceeding the 10°F (-12°C) bi-metal trigger threshold, or an internal mechanical failure within the modular ice maker assembly (Part # W11284458). Systematically executing the inspection procedures below isolates external supply restrictions from hardware failure in under 20 minutes.
1. Locate Rating Plate & Verify Model Fitment
Before testing components or ordering replacement parts, retrieve your refrigerator’s full model and serial number from the factory rating plate.
- French Door Models: Look on the upper interior left or right sidewall of the fresh food compartment.
- Side-by-Side Models: Located along the upper ceiling frame or behind the bottom crisper drawer.
- Top-Mount Models: Affixed near the interior temperature control housing in the fresh food section.
Enter your refrigerator model number to verify direct fitment for OEM Ice Maker Assembly W11284458.
Database covers over 2,400+ Whirlpool, Maytag, KitchenAid, and Amana refrigeration platforms.
2. Failure Root Cause Probability & Diagnostic Matrix
Reference the field diagnostic breakdown below to systematically eliminate supply variables before replacing mechanical hardware:
| Suspected Root Cause | Probability | Observed Symptom | Field Test & Verification Procedure |
|---|---|---|---|
| Modular Ice Maker Assembly (W11284458) | 40% | Water supply and freezer temp verified; ejector fingers stuck at 12 o’clock; mold heater open circuit; motor clicks with no harvest. | Inspect nylon drive gears for stripped teeth. Test mold heater resistance with multimeter set to Rx1 (standard: 65–85 Ω). |
| Restricted Water Supply / Kinked Line | 25% | No water enters the ice tray; water dispenser flow is sluggish or inactive; buzzing noise when ice maker calls for fill. | Pull refrigerator forward; inspect supply tubing for sharp bends or pinch points against the rear wall. Confirm shutoff valve is 100% open (minimum 20 PSI required). |
| Clogged or Unseated Water Filter | 20% | Filter in use >6 months; hollow cubes; water dispensing flow drops below 8 oz per 10 seconds. | Remove filter cartridge and test flow using the built-in bypass. If water flow increases immediately, install a fresh replacement filter. |
| Freezer Temperature Exceeds 10°F (-12°C) | 15% | Ice maker will not initiate harvest cycle; ice cubes soft or slushy; fresh food section feels warm. | Place an appliance thermometer in the freezer center for 2 hours. Temperature must measure between 0°F and 5°F (-18°C to -15°C) to close the bi-metal thermostat. |
3. Repair Cost Analysis: DIY vs. Professional Technician
Most ice maker diagnostics and modular replacements take under 25 minutes. Review the direct expense comparison below:
| Expense Category | Professional Appliance Repair | DIY In-House Replacement |
|---|---|---|
| Trip Charge / Diagnostic Fee | $95.00 – $140.00 | $0.00 |
| Standard Labor Rate (1 Hour Minimum) | $110.00 – $180.00 | $0.00 (15–25 mins DIY) |
| Replacement Part Retail Markup | $125.00 – $165.00 | $85.99 (Factory Direct) |
| Total Estimated Expense | $330.00 – $485.00 | $85.99 |
| Service Lead Time | 3 to 7 Days (Scheduling + Delivery) | Same Day Shipping / 20 Min Fix |
4. Required OEM Replacement Assembly
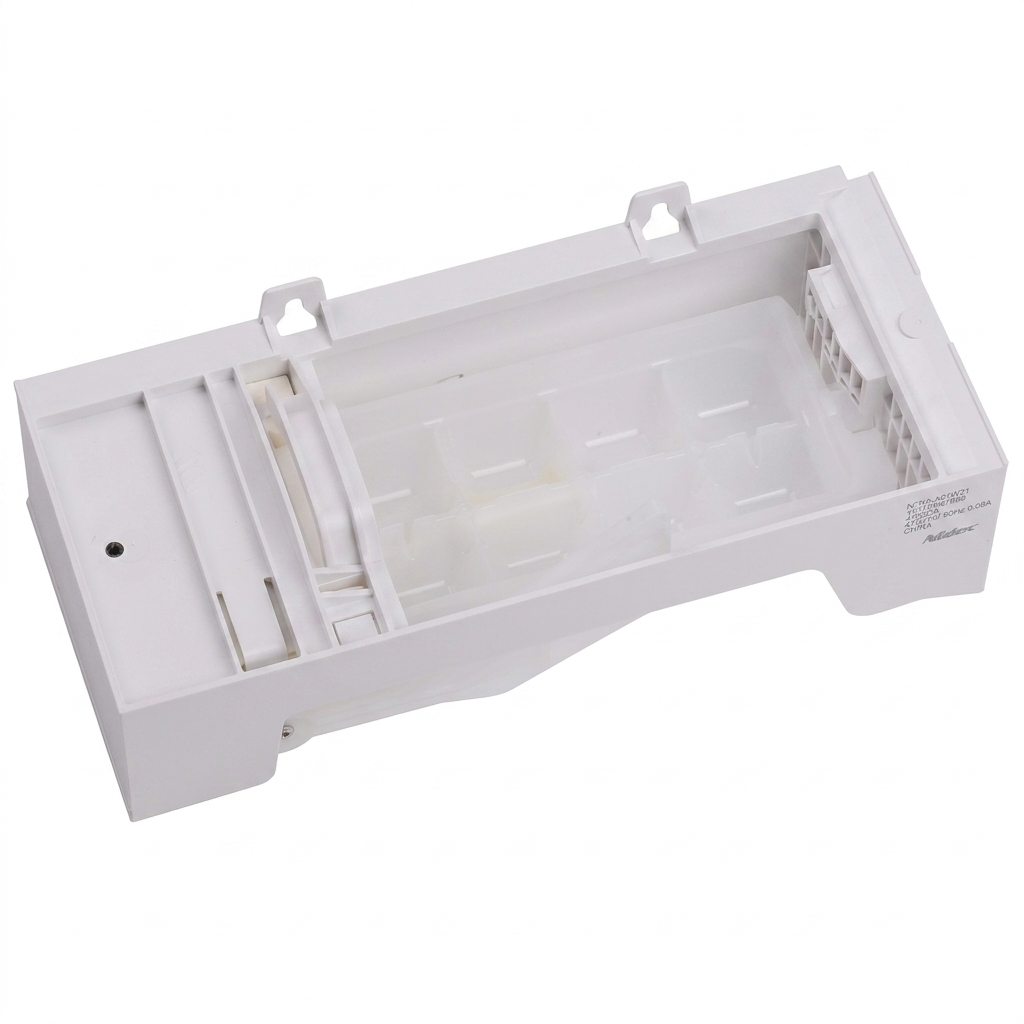
W11284458 Refrigerator Modular Ice Maker Assembly
Cross-Reference / Replaces: W10882923, W10377151, W10300024, W10300022, 4547289, AP6329734, PS12347524, EAP12347524.
Guaranteed Fit: Whirlpool WRF535, WRF560, WRF540, Maytag MFI2269, MFI2570, KitchenAid KRFF305, KRFF302, and Amana AFI2538 series.
- Direct OEM replacement modular ice maker assembly
- Replaces W10882923, W10377151, W10300024, W10300022
- Quick-connect harness for Whirlpool, Maytag and KitchenAid
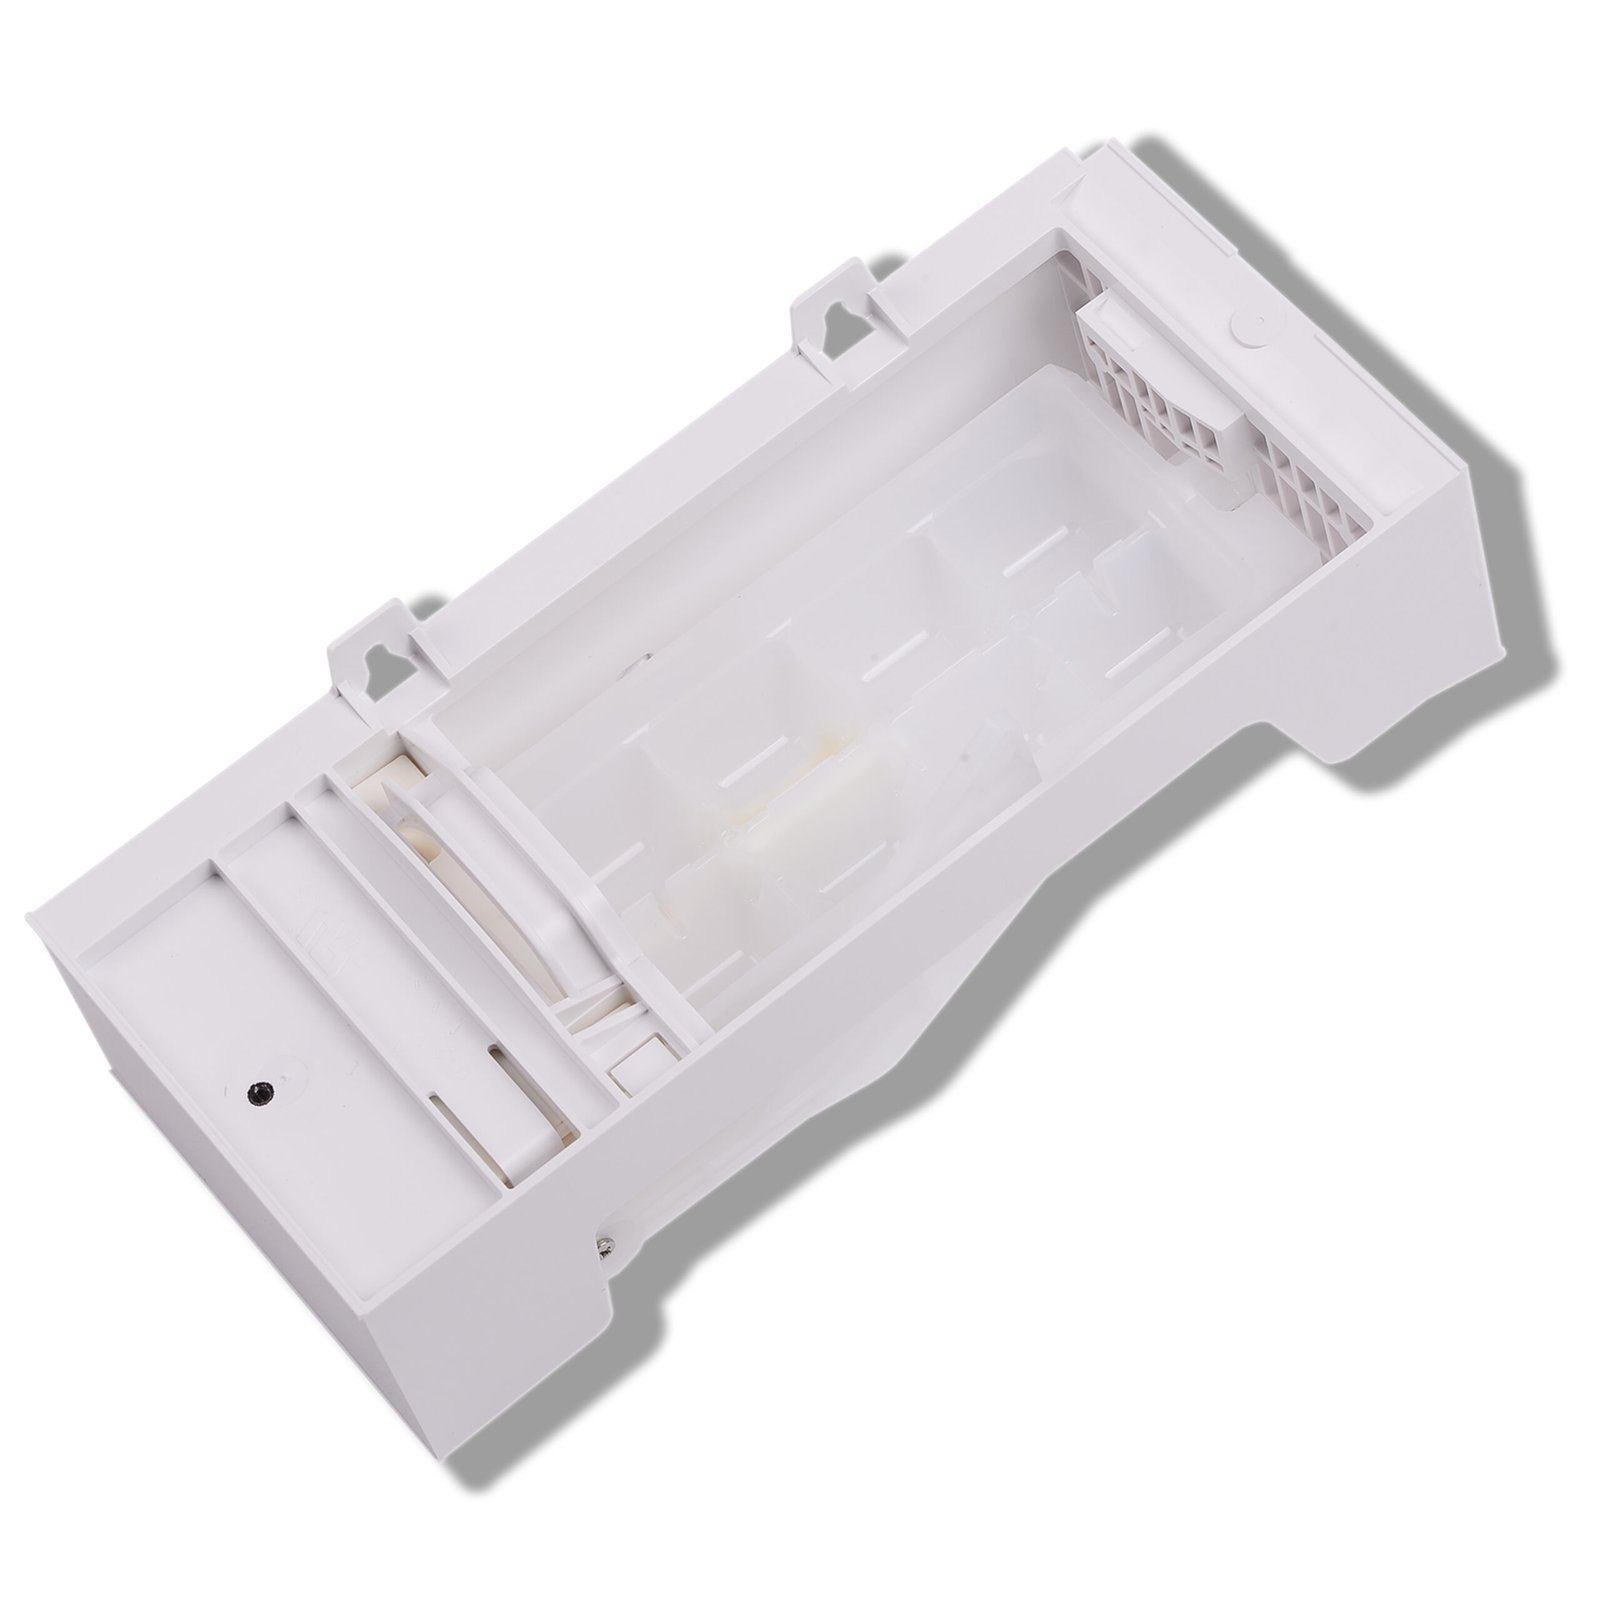
W11455232 Refrigerator Ice Maker Kit
Cross-Reference / Replaces: W11397137, 4962306, EAP16220914, W11284458.
Guaranteed Fit: Whirlpool, KitchenAid, Maytag and Amana refrigerators that use the W11455232 ice maker kit.
- Complete ice maker kit for Whirlpool and KitchenAid refrigerators
- Replaces W11397137, 4962306 and EAP16220914
- Includes the components needed for a 20-minute DIY install
5. Step-by-Step Troubleshooting & Resolution Procedures
Procedure A: Inspect Water Supply & Clear Line Kinks
Pull the refrigerator forward carefully. Inspect the flexible PEX or copper water tubing behind the unit. Ensure the line is free of sharp bends or crimps caused by pushing the refrigerator too tight against the back wall. Verify that the saddle valve or ball valve at the water source is turned fully counter-clockwise to the open position.
Procedure B: Test & Reseat the Water Filter
Remove the water filter cartridge from the upper interior ceiling or base grille housing. Inspect the rubber O-rings for tears or displacement. Reinsert the filter firmly until the locking mechanism clicks into place. If the filter is over 6 months old or if water flow from the door dispenser is sluggish, test operation with the filter removed; modern Whirlpool refrigerators contain an internal bypass valve that maintains water flow when the filter is extracted.
Procedure C: Reset the Ice Maker & Verify Temperature
Confirm the wire shutoff bail arm or optical sensor flipper is in the DOWN (active) position. If your unit features an onboard power switch or reset button beneath the front cover, press and hold the button for 3 seconds to initiate a diagnostic harvest cycle. If no button is present, perform a hard power cycle by unplugging the refrigerator for 2 minutes. Confirm that the freezer maintains a steady operating temperature between 0°F and 5°F (-18°C to -15°C).
Procedure D: Replace the Modular Ice Maker Assembly (W11284458)
If water supply, filter flow, and temperatures are confirmed normal but the unit still fails to cycle, replace the module. Remove the ice storage bin. Using a 1/4″ nut driver, loosen the two upper mounting bracket screws 3 turns (do not remove completely). Remove the single lower stabilizer screw. Lift the assembly off the upper screws and disconnect the multi-pin modular wiring harness.
Connect the wiring harness connector into the new W11284458 module until the locking clip snaps. Hang the bracket slots over the loosened upper screws, tighten the upper fasteners, and reinstall the bottom stabilizer screw. Slide the ice storage container back into place.
6. Post-Service Testing & Operational Verification
Verify normal cycle recovery by checking the following operational benchmarks:
- Feeler Arm Position: Ensure the wire bail arm or sensor paddle is in the lowered (ON) position.
- Thermal Pull-Down: Allow the freezer to stabilize at 0°F to 5°F for at least 2 hours. The mold thermostat will not allow water filling until the internal sensor drops below 15°F (-9°C).
- First Production Cycle: The replacement module will complete its first water fill and cube harvest within 2 to 4 hours.
- Purge Supply Line: Discard the first 2–3 full batches of ice to ensure supply lines are completely cleared of residual air pockets and sediment.