
Diagnostic Summary
The motorized air damper control assembly regulates sub-zero airflow from the evaporator coils in the freezer into the fresh food compartment. When internal nylon drive gears strip or the stepper motor fails in the open position, sub-freezing air continuously floods the refrigerator section, freezing milk, eggs, and fresh produce. Conversely, if the damper door sticks closed, the fresh food compartment warms above 45°F while the freezer maintains 0°F. Replacing the failed assembly (Part # W11663222) restores automated airflow control and eliminates gear clicking or grinding noises.
1. Verify Refrigerator Model Compatibility
Always verify your complete model and serial number on the manufacturer rating plate before ordering service parts.
- French Door Models: Located on the upper interior left or right sidewall of the fresh food compartment.
- Side-by-Side Models: Located on the upper right ceiling liner or behind the lower crisper drawer frame.
Enter your refrigerator model number to confirm direct fitment for OEM Air Damper Assembly W11663222.
Database covers over 1,800+ Whirlpool, KitchenAid, Maytag, and Kenmore configurations.
2. Symptoms & Failure Cause Probability Analysis
| Suspect Component | Probability | Observed Symptom | Field Inspection Method |
|---|---|---|---|
| Air Damper Assembly (W11663222) | 75% | Food freezing in fresh food section OR fresh food above 45°F; rhythmic clicking / grinding sounds from upper air tower. | Inspect damper baffle door movement with flashlight; check for stripped gears or motor stalling during diagnostic cycle. |
| Cabinet Thermistor Sensor | 15% | Damper motor functions mechanically, but control board misreads ambient cabinet temperature. | Measure resistance with multimeter at 32°F in ice water (normal range: 8.7kΩ to 10kΩ). |
| Evaporator Defrost System | 10% | Heavy frost accumulation blocks the airflow duct passage connecting freezer to fresh food section. | Inspect freezer rear back panel for solid frost accumulation; check defrost heater and bimetal continuity. |
3. Repair Cost Analysis: DIY vs. Professional Service
| Cost Component | Professional In-Home Service | DIY In-House Replacement |
|---|---|---|
| Diagnostic / Travel Fee | $95.00 – $145.00 | $0.00 |
| Labor (1.0–1.5 Hours Standard) | $125.00 – $195.00 | $0.00 (25–40 mins DIY) |
| OEM Part Retail Markup | $100.00 – $135.00 | $38.99 (Factory Direct) |
| Total Estimated Expense | $320.00 – $475.00 | $38.99 |
| Resolution Lead Time | 3 to 7 business days | Same Day Dispatch / 30 Min Install |
4. Required OEM Replacement Assembly
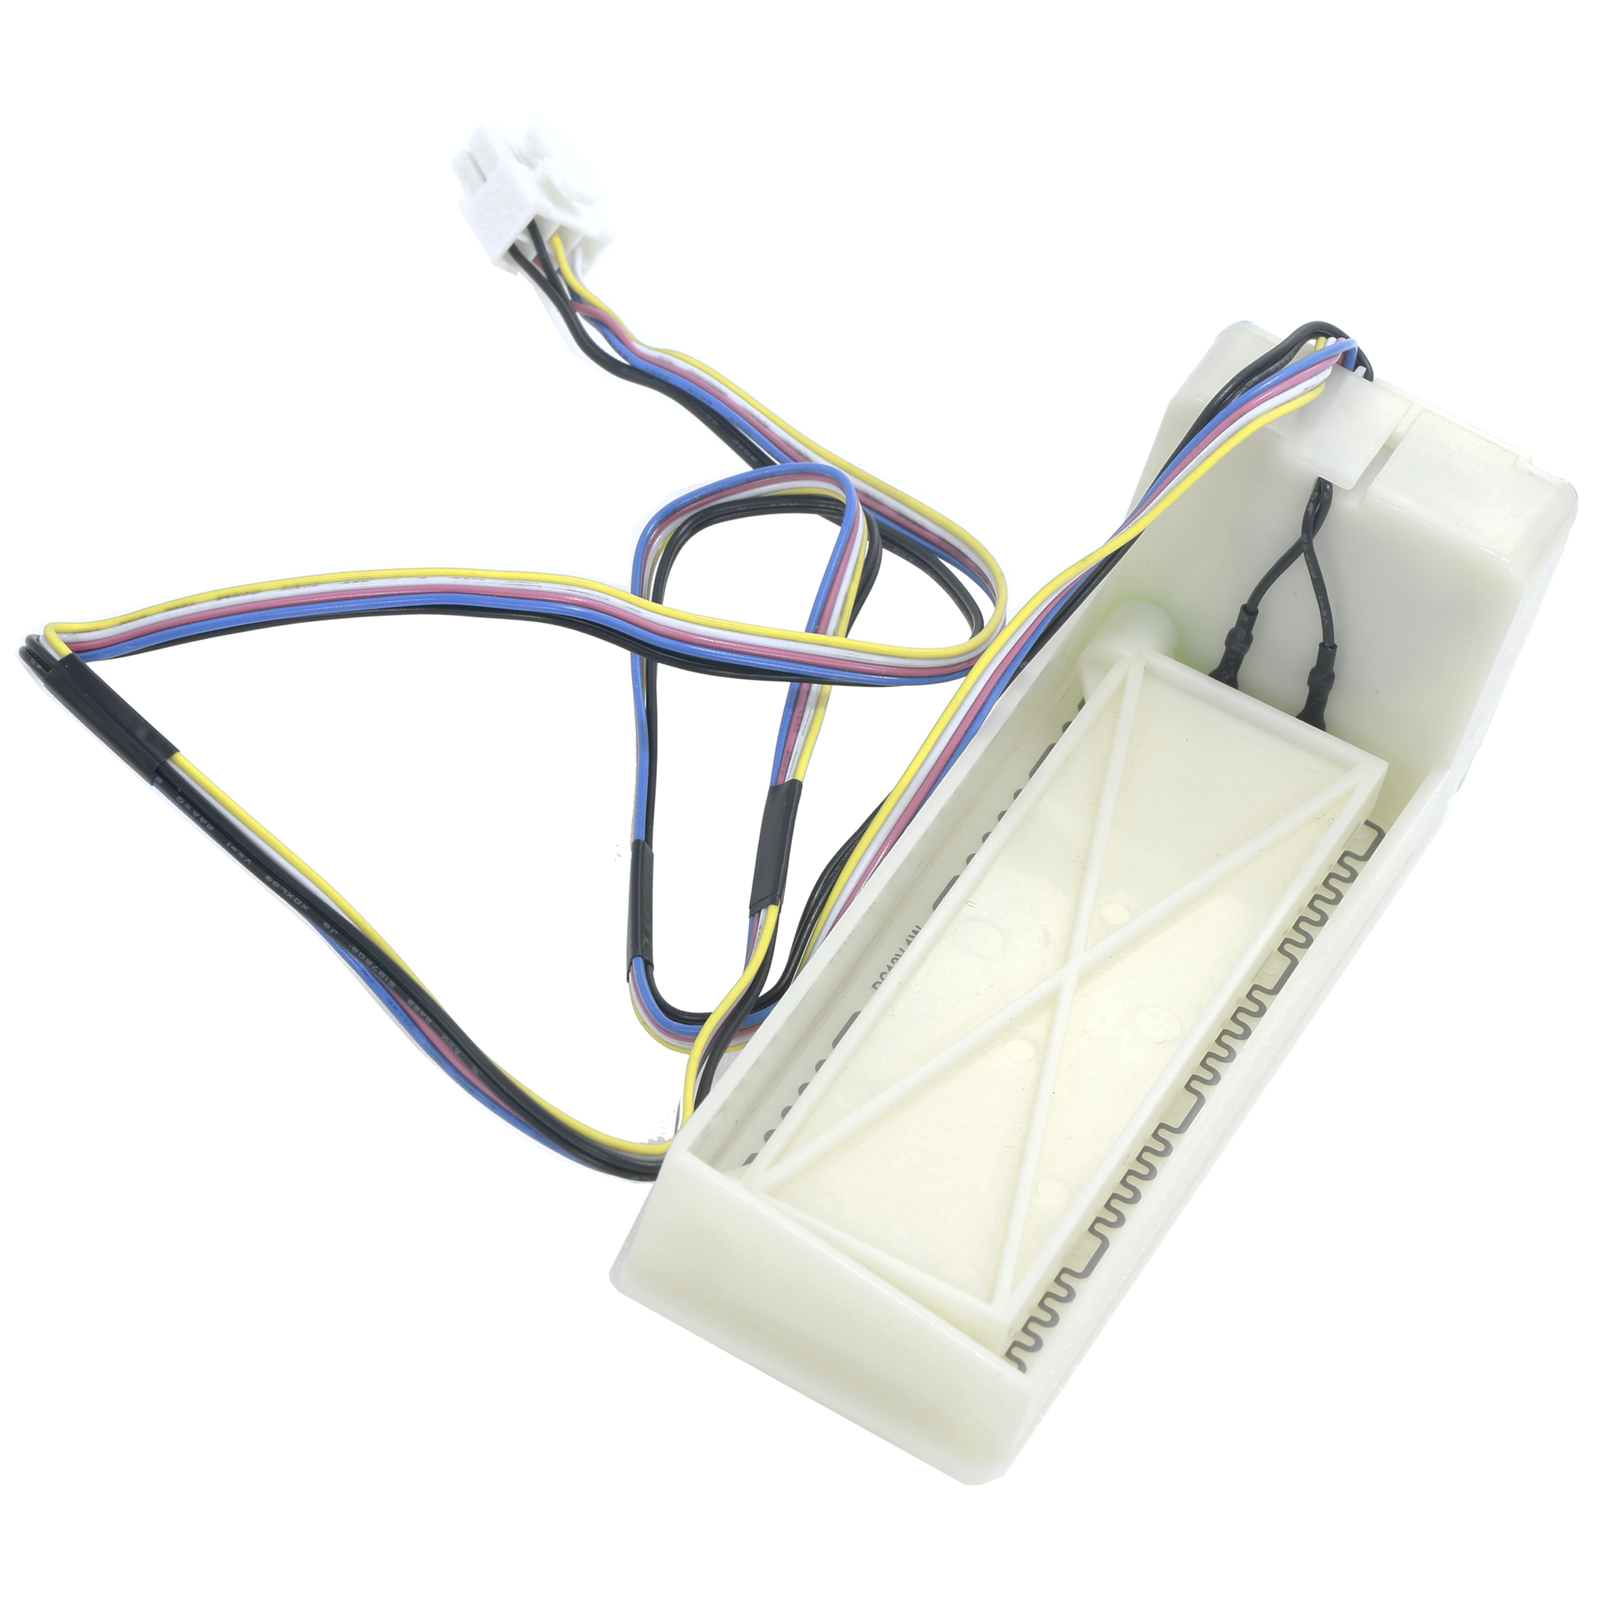
W11663222 Refrigerator Air Damper Control Assembly
Cross-Reference / Replaces: W11164593, W10846539, 4976451, AP7208151, PS16744976, EAP16744976.
Guaranteed Fit: Whirlpool WRF535, WRF560, KitchenAid KRFC300, KRFF305, Maytag MFI2269, MFI2570, and Kenmore 106-series refrigerators.
- ✓ 365-Day Return Guarantee (Installed or Uninstalled)
- ✓ Factory Certified OEM-Standard Replacement
- ✓ 1-Year Comprehensive Replacement Warranty
5. Step-by-Step Replacement Instructions
Required Tools & Materials
- 1/4-inch hex nut driver or magnetic bit socket
- Small flathead screwdriver or rigid plastic putty knife
- Work gloves
Remove the top two glass shelves to provide unobstructed access to the top center air diffuser tower located on the rear ceiling liner.
Remove the two 1/4″ hex screws located along the front edge or underneath the diffuser panel. Use a putty knife to depress rear retaining clips and pull the cover down.
Support the air tower housing with one hand. Depress the center locking tab on the connector plug and separate the harness.
Release the plastic clips securing the damper body inside the styrofoam insulation channel. Carefully extract the old W11663222 damper assembly.
Position the new damper into the styrofoam housing, making sure the motorized door faces the outlet. Press until tabs snap. Verify the sealing foam creates an airtight barrier.
Plug the wire harness into the new damper until it locks. Align the housing with the ceiling port, slide rearward, and reinstall mounting screws. Reinsert shelves.
6. Post-Installation Testing & System Verification
- Restore Power: Plug power cord into 120V outlet.
- Observe Self-Calibration Cycle: Listen near the air tower within 10–30 seconds: the stepper motor should drive the door through a smooth open/close cycle without clicking.
- Verify Airflow: Feel for cool airflow discharging from the center diffuser louvers when the evaporator fan operates.
- 24-Hour Temperature Stabilization: Place a thermometer in a glass of water on the middle shelf to confirm stabilization between 36°F and 38°F.