
Diagnostic Summary
When an LG or Kenmore washing machine violently shakes, bangs against the exterior cabinet during spin cycles, or repeatedly aborts spinning with an unbalance error code (UE or uE), the upper counter-balance suspension springs have typically lost tensile elasticity, elongated beyond factory tolerance, or broken at the chassis mounting loop. Replacing both upper suspension springs simultaneously using a matched set (Part # 4970FR2084Z) restores dynamic drum centering, stabilizes high-RPM spin cycles, and prevents premature failure of the lower shock absorbers.
1. Verify Washing Machine Model Compatibility
To confirm that your washer uses the 4970FR2084Z heavy-duty spring configuration, locate the manufacturer rating plate on your appliance. Do not reference the commercial marketing series name on the front control badge.
- Front-Load Washers: Open the door and check the perimeter of the front cabinet opening, or look along the inner frame edge beneath the door latch.
- Top-Load Washers: Located on the back of the control console, beneath the lid opening, or along the lower left exterior side panel.
Enter your washer model number to confirm direct fitment for OEM 2-Pack Spring Set 4970FR2084Z.
Database matches over 1,800+ LG and Kenmore 796-series direct drive washer configurations.
2. Symptoms & Root Cause Probability Analysis
| Suspect Component | Probability | Observed Symptom | Field Inspection Method |
|---|---|---|---|
| Upper Suspension Springs (4970FR2084Z) | 65% | Outer tub sags to one side; violent metal-on-metal thumping at 800+ RPM; washer aborts spin with UE/uE fault. | Remove top lid; inspect spring coils for uneven stretching, cracked rubber damping sleeves, or broken eyelet hooks. |
| Lower Friction Dampers (Shock Absorbers) | 25% | Tub bounces rapidly up and down during wash agitation or initial spin ramp-up; cabinet walking across floor. | Access lower tub through rear service panel; test damper pistons for free play, broken mounting pins, or fluid leakage. |
| Unbalanced / Loose Leveling Legs | 10% | Cabinet rocks diagonally when pressure is applied to opposite corners while the machine is stationary. | Place a spirit level across the front and sides of top panel; adjust threaded footpads with 9/16″ wrench and tighten lock nuts. |
3. Repair Cost Analysis: DIY vs. Professional Service
| Expense Category | Professional Service Call | DIY In-House Replacement |
|---|---|---|
| Trip Charge / Diagnostic Fee | $95.00 – $130.00 | $0.00 |
| Standard Labor Charge (1.0 hr standard) | $110.00 – $170.00 | $0.00 (20–30 mins DIY) |
| Replacement Springs Retail Markup | $45.00 – $65.00 | $19.99 (2-Pack Complete Set) |
| Total Estimated Expense | $250.00 – $365.00 | $19.99 |
| Service Lead Time | 3 to 7 Days for Technician Visit | Same Day Dispatch / 30 Min Fix |
4. Required OEM Replacement Spring Set
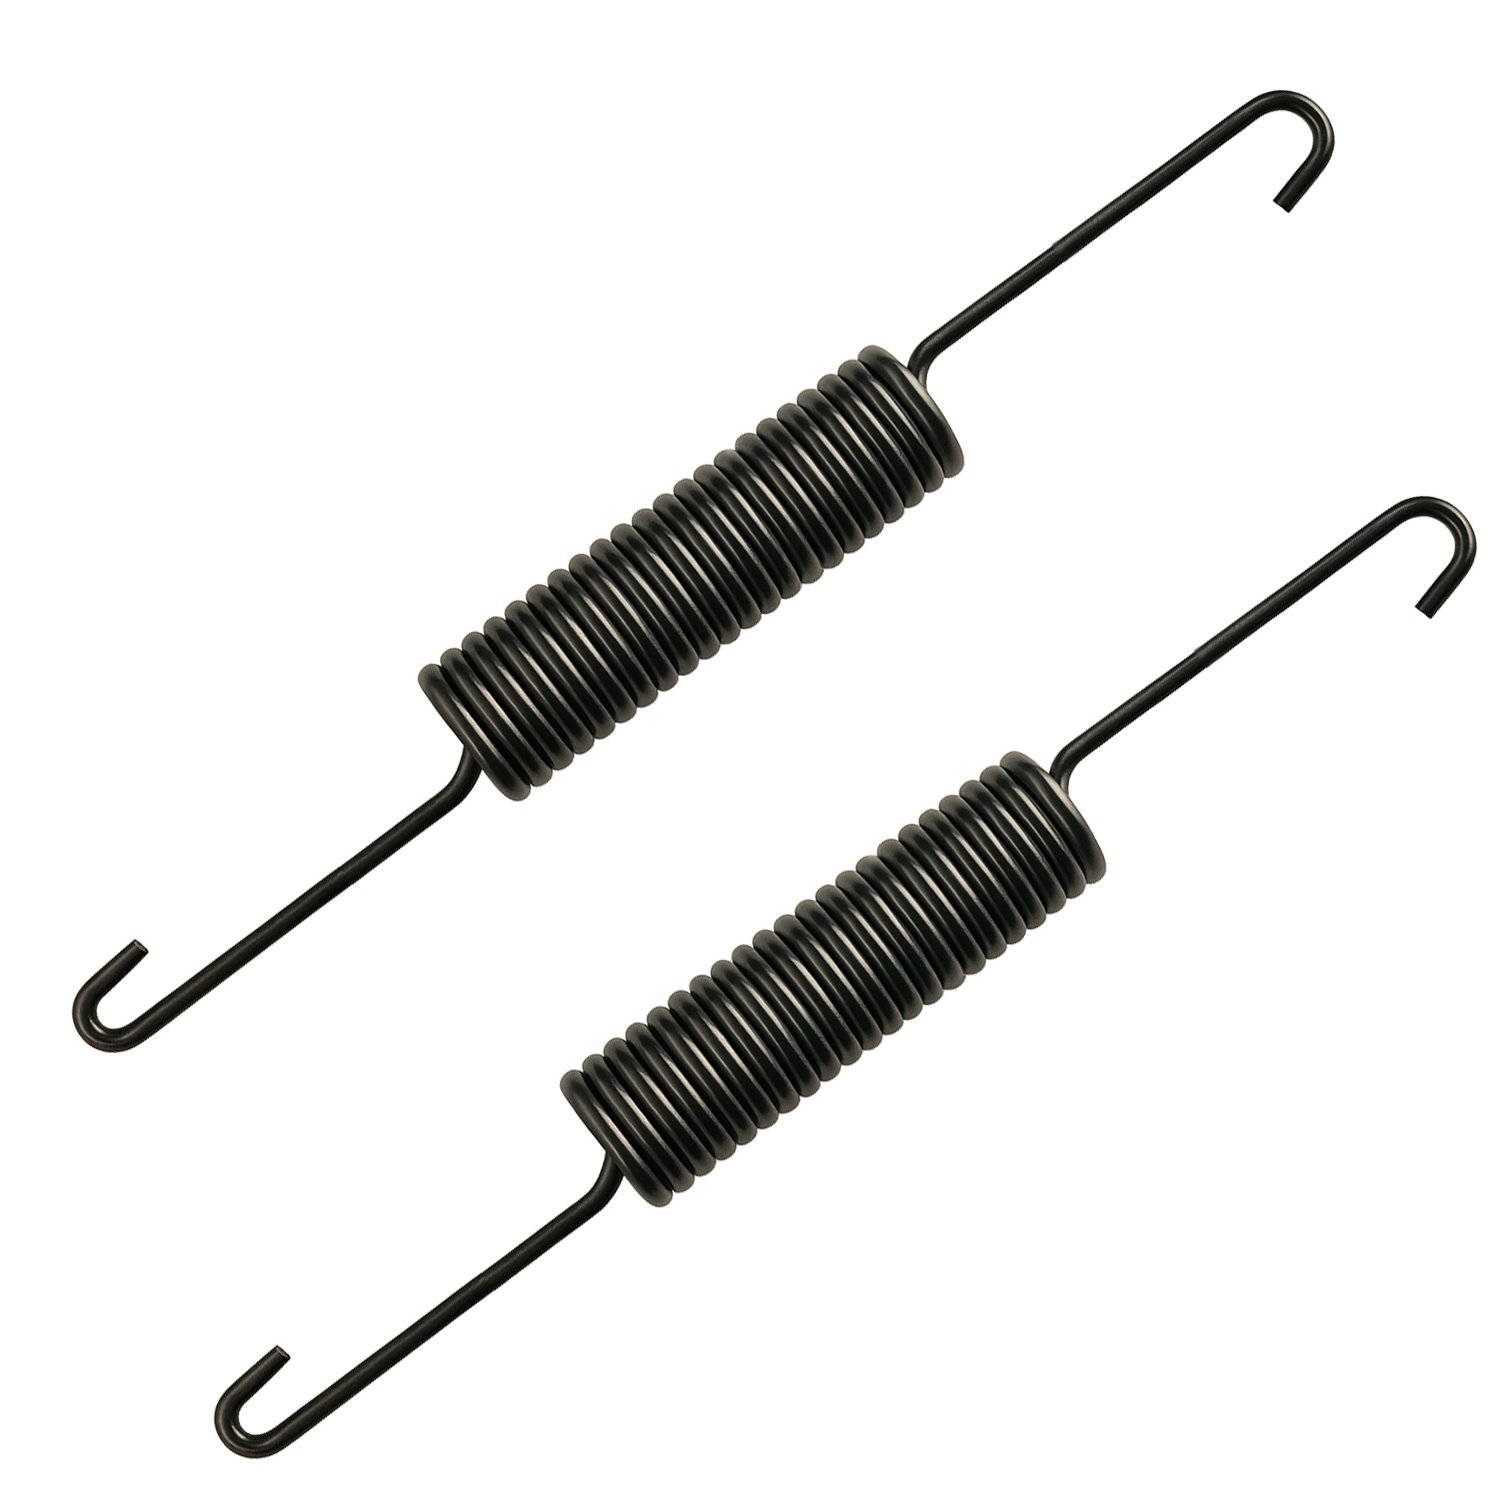
4970FR2084Z Washer Tub Suspension Spring (2-Pack Matched Set)
Cross-Reference / Replaces: 4970FR2084R, 1267498, AH3524497, EA3524497, PS3524497, AP4438368, LP14846.
Guaranteed Fit: LG WM2016CW, WM2050CW, WM2277HW, WM2487HWM, WM3001HPA, WM3470HWA, and Kenmore 796.40272800, 796.40272900, 796.41172210 series.
- ✓ 365-Day Hassle-Free Returns
- ✓ Heavy-Duty Tempered Spring Steel
- ✓ 1-Year Direct Replacement Warranty
5. Step-by-Step Suspension Spring Replacement Instructions
Required Tools
- Phillips head screwdriver
- Heavy-duty needle-nose pliers (or vice-grip locking pliers)
- Sturdy work gloves
Carefully walk the washer away from the back wall. On the rear top flange, use your Phillips screwdriver to remove the two screws securing the top cover mounting brackets.
Grasp both sides of the top panel, push backward approximately 1/2 inch to disengage front locating tabs, and lift the panel straight off the cabinet.
Lift up slightly on the outer tub assembly from underneath to relieve spring tension. Using needle-nose pliers, disengage the top hook of the old spring from the chassis frame slot, then unhook the bottom end from the outer tub eyelet.
Ensure the protective rubber damping sleeve is positioned correctly on the new 4970FR2084Z spring hook to prevent metal-on-metal squeaking against the chassis bracket.
Connect the lower hook of the replacement spring securely into the outer tub eyelet. Lift the tub assembly with one hand, then use your pliers to pull the top hook upward and seat it firmly into the chassis frame notch. Always replace both springs together.
Align the top panel over the cabinet, slide forward until flush, and reinstall the two rear mounting screws. Reconnect water supply hoses, open valves, and plug in the power cord.
6. Post-Installation Testing & Verification
- Manual Drum Rebound Test: Press down firmly on the bottom of the stainless steel drum, then release immediately. A properly balanced suspension will rebound once and settle smoothly.
- Empty High-Speed Spin Cycle: Run a Spin Only / Drain & Spin cycle on High without laundry. Verify smooth acceleration without cabinet banging and confirm the cycle completes without triggering a UE or uE error code.