
Diagnostic Summary
When a Whirlpool refrigerator stops producing ice while water dispensing works normally, the failure is typically caused by a stripped internal drive motor, an open mold heater circuit, or a defective ejector assembly within the ice maker head. Replacing the complete modular assembly (Part # W11284458) resolves these mechanical and electrical failures directly without requiring line tapping or refrigerant handling.
1. Verify Refrigerator Model Compatibility
To ensure part fitment, retrieve the full model number from the production rating plate located inside your appliance. Do not rely on the marketing brochure model number on the front user manual.
- French Door Models: Check the interior left or right wall of the upper fresh food compartment.
- Side-by-Side & Top-Mount Models: Located on the upper ceiling frame or behind the bottom crisper drawer.
Enter your refrigerator model number to confirm direct fitment for OEM Assembly W11284458.
Database matches over 2,400+ Whirlpool, Maytag, KitchenAid, and Amana configurations.
2. Symptoms & Root Cause Probability Analysis
Before replacing components, systematically rule out utility supply problems using the failure probability breakdown below:
| Suspect Component | Probability | Observed Symptom | Field Test Procedure |
|---|---|---|---|
| Ice Maker Module (W11284458) | 65% | Bail arm down, freezer below 10°F, water valve clicks but no harvest rotation or tray filling. | Inspect ejector teeth alignment; test motor continuity on harness terminals 1 and 3. |
| Dual Water Inlet Valve | 20% | Ice maker clicks repeatedly with zero water fill into ice mold tray. | Check solenoid continuity with multimeter (200–500 Ω normal; O.L. indicates failed coil). |
| Frozen Fill Tube Line | 10% | Water dispenser works, but fill tube spout above ice maker is clogged with solid ice. | Visual inspection with flashlight; defrost tube with low-temperature heat gun. |
| Door Switch / Optics Board | 5% | Ice maker receiver LED blinks irregularly or optical emitter beam is obstructed. | Inspect flap alignment on freezer left wall; verify switch continuity when pressed. |
3. Repair Cost Analysis: DIY vs. Professional Service
Replacing the W11284458 ice maker requires only a single 1/4″ nut driver and approximately 20 minutes of workbench time. Below is a real-world cost breakdown comparing DIY replacement against third-party service technician rates:
| Expense Category | Professional Appliance Repair | DIY In-House Replacement |
|---|---|---|
| Diagnostic / Service Call Fee | $95.00 – $140.00 | $0.00 |
| Standard Labor Rate (1 Hour Minimum) | $110.00 – $180.00 | $0.00 (15–25 mins DIY) |
| Replacement Part Retail Markup | $125.00 – $165.00 | $48.99 (Factory Direct) |
| Total Estimated Expense | $330.00 – $485.00 | $48.99 |
| Completion Lead Time | 3 to 7 Days (Appointment + Part Ordering) | Same Day Shipping / 20 Min Fix |
4. Required OEM Replacement Assembly
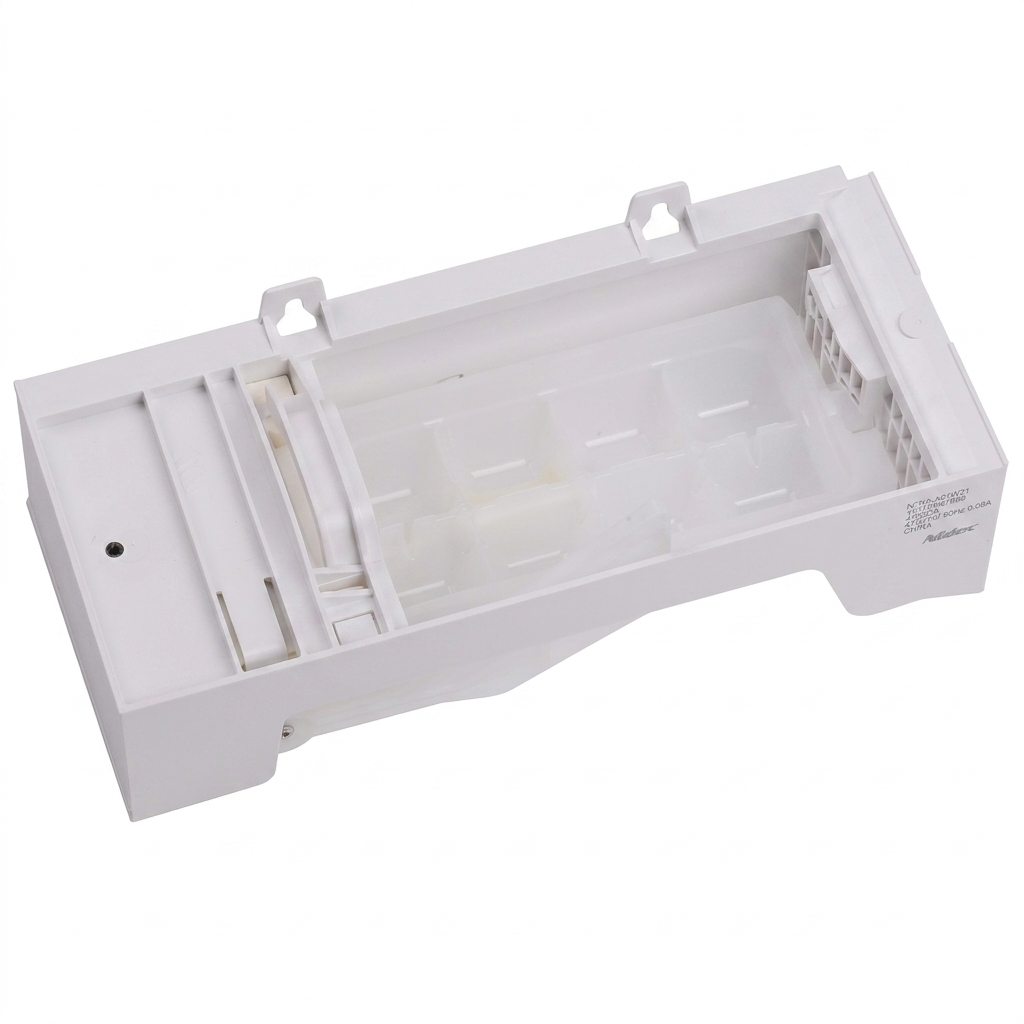
W11284458 Refrigerator Ice Maker Assembly (8-Cube Modular Unit)
Cross-Reference / Replaces: W10882923, W10377151, W10300024, W10300022, 4547289, AP6329734, PS12347524, EAP12347524.
Guaranteed Fit: Whirlpool WRF535, WRF560, WRF540, Maytag MFI2269, MFI2570, KitchenAid KRFF305, KRFF302, and Amana AFI2538 series.
- ✓ 365-Day Hassle-Free Returns
- ✓ OEM Factory Grade Standard
- ✓ 1-Year Full Replacement Warranty
5. Step-by-Step Replacement Instructions
Required Tools
- 1/4-inch hex head nut driver or socket
- Small flathead screwdriver
- Work gloves and clean shop rag
Open the freezer drawer or upper left fresh food cabinet. Slide the ice storage bucket forward and lift it out of the track. Set the bucket aside to clear access to the ice maker mounting wall.
Locate the two 1/4″ hex head mounting screws at the top brackets of the ice maker assembly. Using your 1/4″ nut driver, loosen both screws by turning counter-clockwise 3–4 full turns. Note: Do not remove these upper screws completely; the ice maker frame features slotted mounting brackets designed to slide off.
Remove the single 1/4″ hex screw securing the bottom stabilizing bracket. Once free, grasp the ice maker body, lift up slightly to clear the upper keyhole slots, and pull the unit away from the freezer wall.
Support the ice maker with one hand to avoid straining the wiring. Locate the multi-pin modular harness connector. Press firmly on the center locking release tab with your thumb (or depress gently with a flathead screwdriver) and pull the male and female plugs apart.
Align the wire harness connector of the new W11284458 ice maker with the refrigerator cabinet receptacle and push until the locking clip clicks securely. Align the upper bracket keyhole slots over the existing loosened wall screws. Tighten both upper 1/4″ screws, then reinstall and torque the bottom support fastener.
Slide the ice storage container back into place until fully seated against the back wall. Reconnect the power cord to the 120V wall outlet and reopen the water supply valve.
6. Post-Installation Testing & Verification
To confirm that your replacement assembly is operating within factory specifications:
- Lower the Shutoff Arm: Ensure the wire bail arm / sensor shutoff paddle is in the fully lowered (active) position.
- Freezer Temperature Check: Verify that the freezer compartment maintains a stable temperature between 0°F and 5°F (-18°C to -15°C). The internal bi-metal thermostat will not energize the fill cycle if the temperature is above 12°F.
- First Harvest Cycle: The new modular assembly will complete its first automatic harvest within 2 to 4 hours once the internal mold thermostat reaches operating temperature.
- Discard Initial Batches: Discard the first 2–3 batches of ice cubes to ensure all supply lines are fully purged of residual air and sediment.