
Diagnostic Summary
When your refrigerator experiences a complete ice production halt, broken plastic stripper teeth, cracked mold coating, or water continuously overflowing into the ice bin, the internal drive head or thermal mold assembly has reached end-of-life fatigue. Installing the complete W11455232 modular service kit replaces the entire harvest module and includes updated modular wiring harnesses, multiple bracket configurations, and an extended fill cup adapter to ensure proper alignment and mechanical reliability across diverse cabinet revisions.
1. Locate Rating Plate & Verify Model Fitment
Appliance manufacturers update internal wiring connectors and bracket depth across production runs. Before ordering, verify your complete model and serial number directly from the appliance rating tag.
- Top-Mount Freezer Models: Look on the upper left interior wall of the fresh food compartment, near the upper light lens, or on the ceiling frame.
- Bottom-Mount & French Door Units: Located on the interior left sidewall of the fresh food cabinet, or behind the crisper drawer frame.
Enter your refrigerator model number to verify fitment with W11455232 kit configurations.
Directly replaces obsolete assemblies across 3,500+ Whirlpool, Maytag, KitchenAid, and Amana models.
2. Symptoms & Failure Mode Probability Breakdown
| Suspect Component | Failure Rate | Observed Physical Symptom | Diagnostic Inspection Method |
|---|---|---|---|
| Drive Motor / Stripped Gear Assembly | 60% | Ejector blades stuck mid-rotation (12 o’clock position); clicking noise without cube harvest; broken stripper teeth. | Remove front cover; inspect nylon drive gear teeth for stripping or loose cam shaft alignment. |
| Mold Thermostat & Heater Circuit | 25% | Ice freezes solid in tray but never ejects; mold heater fails to release cubes, stalling harvest motor. | Check resistance across heater terminals with digital multimeter set to Rx1 (normal reading is 65–85 Ω). |
| Water Inlet Valve Solenoid | 15% | Ice maker cycles normally but tray receives no water; or valve fails to close, causing bin overflow. | Check 120V signal across valve coil during harvest fill stage; verify water supply line pressure ≥ 20 PSI. |
3. Repair Expense Breakdown: Professional Service vs. DIY Kit
| Billing Category | Professional Appliance Repair | DIY In-House Replacement |
|---|---|---|
| Trip Charge & Diagnostic Service Fee | $100.00 – $150.00 | $0.00 |
| Standard Labor Rate (1 Hour Minimum) | $120.00 – $190.00 | $0.00 (20–30 mins DIY) |
| Replacement Part Retail Markup | $130.00 – $160.00 | $54.99 (Factory Direct) |
| Total Estimated Expense | $350.00 – $500.00 | $54.99 |
| Repair Turnaround | 3 to 7 Days (Scheduling + Logistics) | Immediate / Same-Day Shipping |
4. Required Replacement Service Kit
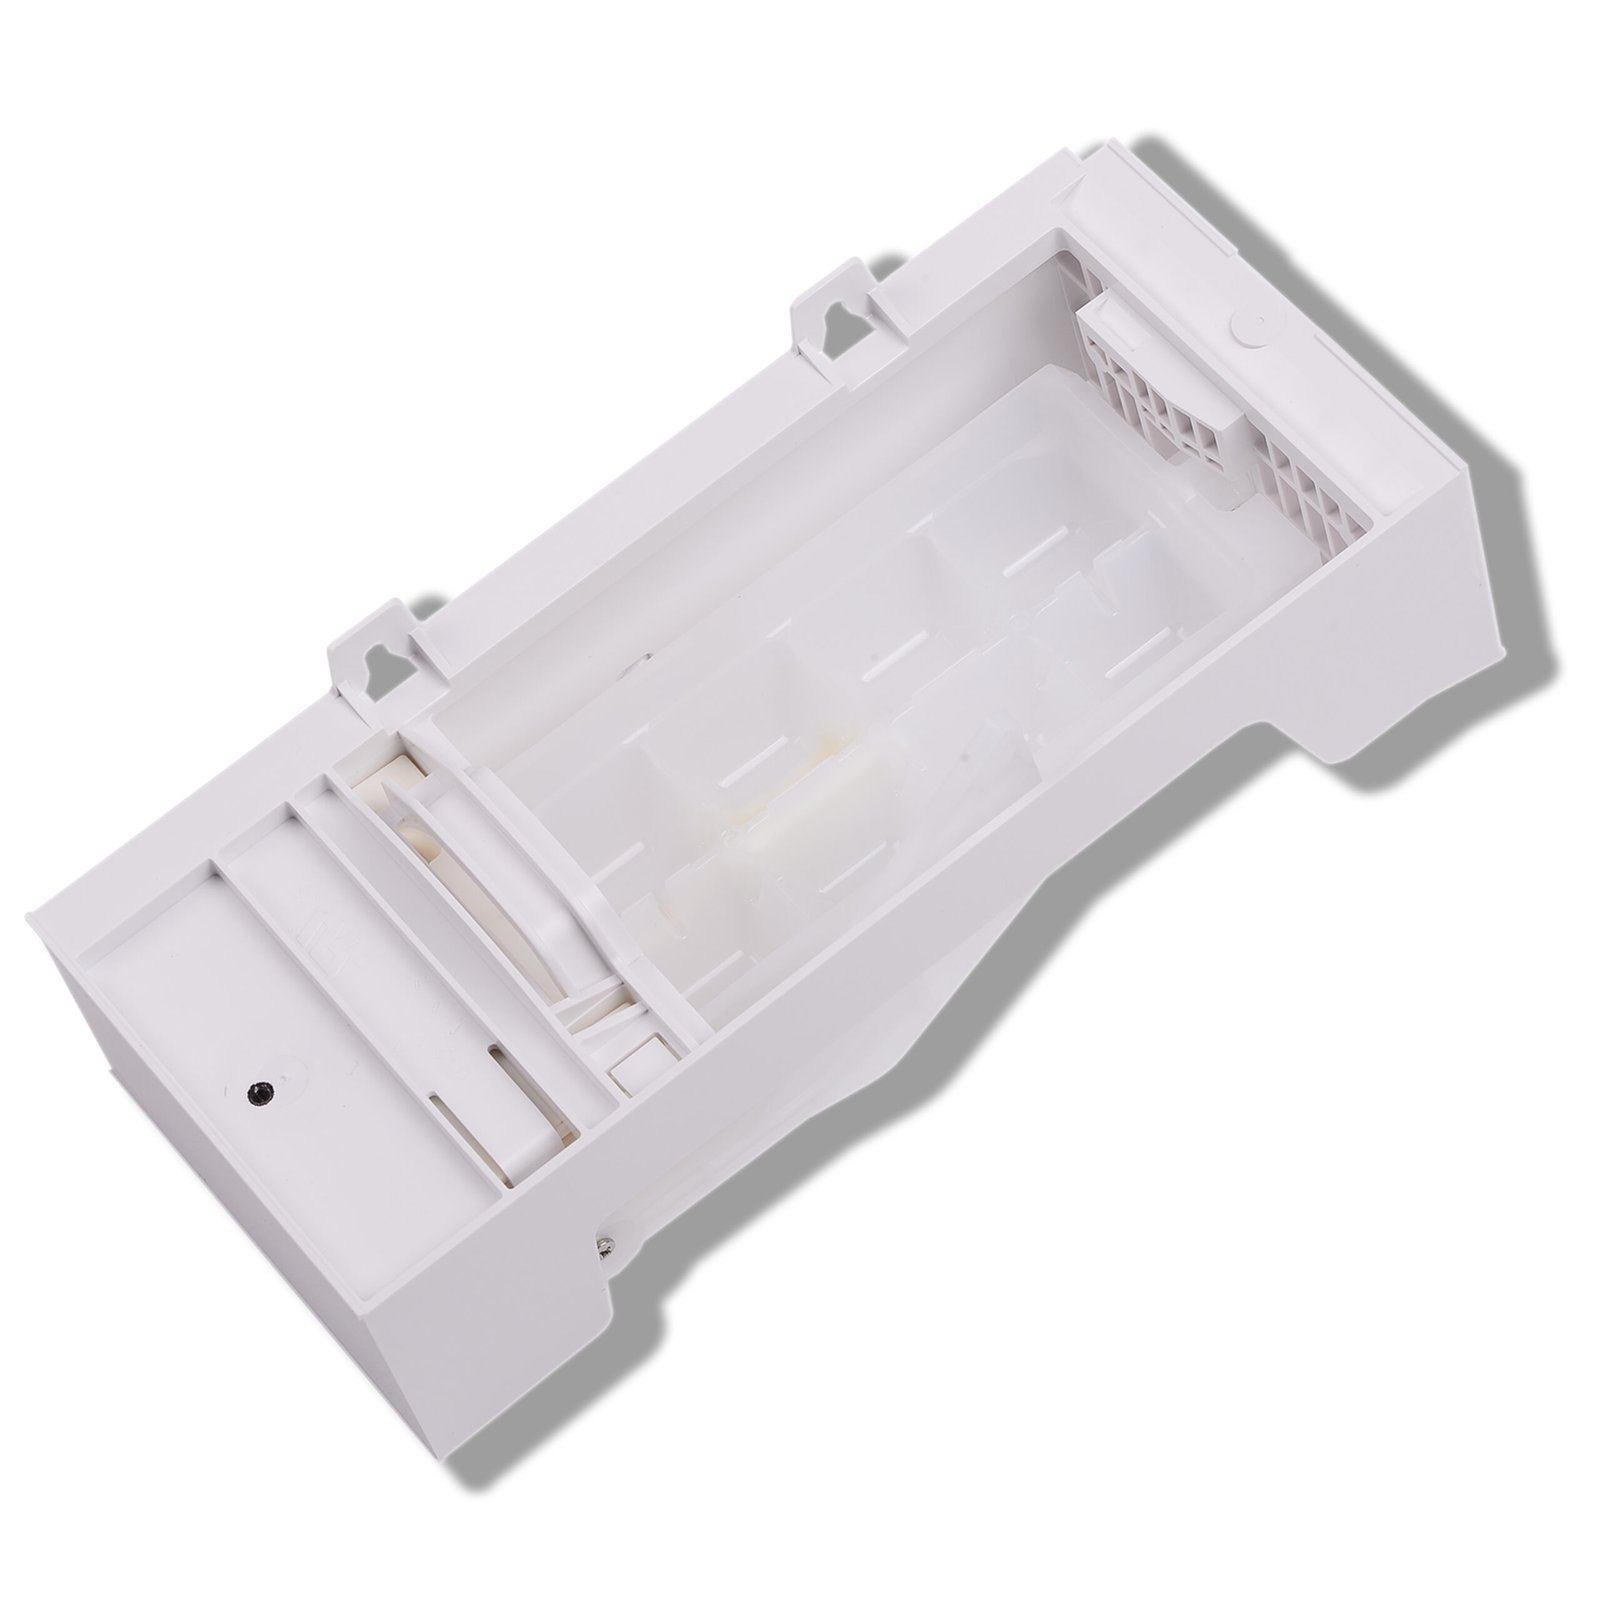
W11455232 Refrigerator Ice Maker Assembly Service Kit
Cross-Reference / Replaces: W11455232, W10882923, W11284458, W10377151, AP6985055, PS16217436, EAP16217436.
Compatibility Scope: Fits Whirlpool WRT518SZFM, WRT311FZDW, Maytag MRT118FFFZ, Amana ART318FFDW, KitchenAid KRFF305, and select Jenn-Air platforms.
- ✓ 365-Day Hassle-Free Returns
- ✓ Complete Service Kit with Harnesses & Brackets
- ✓ 1-Year Comprehensive Replacement Warranty
5. Step-by-Step Replacement Instructions
Required Tools
- 1/4-inch hex head nut driver or socket
- Small flathead screwdriver
- Small torpedo level
- Clean shop towel
Open the freezer door. Slide the ice storage container forward and remove it completely from the compartment.
Using a 1/4″ hex nut driver, loosen both upper screws securing the ice maker frame to the freezer sidewall 3 to 4 turns counter-clockwise.
Remove the single 1/4″ hex fastener at the bottom stabilizer bracket. Lift the ice maker upward to clear the keyhole slots and pull away from the wall.
Depress the locking tab on the multi-conductor electrical connector and pull the harness plug firmly from the cabinet receptacle.
Select the correct adapter bracket, verify fill cup alignment with your water spout, and connect the matching modular harness plug included in the kit.
Plug the harness into the cabinet receptacle. Position keyhole slots over the loosened upper screws. Tighten top screws, reinstall bottom screw, and verify horizontal level.
Slide the ice bin into position. Reconnect power and open the cold water valve.
6. Testing & Operational Verification
- Lower the Feeler Arm: Ensure the shutoff arm is lowered into the operating position.
- Verify Freezer Temperature: Confirm the freezer operates between 0°F and 5°F (-18°C to -15°C).
- Initial Harvest Cycle: The new modular assembly will initiate water fill and freeze harvest within 2 to 4 hours.
- Discard Initial Ice: Discard the first 2–3 batches of ice cubes.