
Diagnostic Summary
Modern Vertical Modular Washing Machines (VMW) utilize a solenoid-activated lid latch switch (Part # W11371714) containing internal microswitches and a locking actuator pin. When the control board signals a cycle start, it energizes the solenoid to physically lock the lid and confirm closure. If the internal solenoid coil burns out, the microswitch contacts corrode, or the locking arm fails to seat, the main control board flashes the “Lid Lock” status LED, logs fault codes (F5E1, F5E2, or F5E3), and immediately halts agitation, filling, or high-speed spin cycles as a mandatory safety measure.
1. Verify Washer Model Compatibility
To confirm that Part # W11371714 fits your machine, always locate the official manufacturer rating plate. Do not use the series badge on the console or front cover.
- Top-Load Washers: Lift the washer lid and look at the rear cabinet frame directly beneath the hinge line, or check the rear upper corner of the console backsplash.
Enter your washer model number below to verify compatibility with OEM Lid Lock Switch W11371714.
Database covers over 1,800+ Whirlpool, Maytag, Kenmore, and Amana top-load platforms.
2. Symptoms & Root Cause Probability Analysis
| Suspect Component | Probability | Observed Symptom / Error Code | Field Test Procedure |
|---|---|---|---|
| Lid Lock Latch Switch (W11371714) | 70% | Lid Lock LED flashes continuously; clicking sound repeats 3–5 times; washer will not fill; codes F5E1 (Lid Switch Fault), F5E2 (Lid Lock Fault), F5E3 (Lid Unlock Fault). | Test solenoid resistance between harness pins 3 and 4 with a multimeter (standard: 50–120 Ω). Measure continuity across the lock sensing microswitch. |
| Lid Strike / Bezel Misalignment | 20% | Plastic lid strike on the underside of the lid is bent, cracked, or misaligned with the deck latch slot. | Inspect physical engagement when lid closes; ensure plastic tab fully enters the latch cavity without binding. |
| Main Electronic Control Board | 10% | New lid switch installed but control board fails to output 120VAC / 12VDC pulse to the lock solenoid. | Perform manual diagnostic test mode; verify voltage output from J15 connector on main control board. |
3. Repair Cost Analysis: DIY vs. Professional Service
| Expense Category | Professional Appliance Repair | DIY In-House Replacement |
|---|---|---|
| Service Call & Diagnostic Fee | $95.00 – $135.00 | $0.00 |
| Labor Charge (Standard Rate) | $100.00 – $165.00 | $0.00 (15–25 mins DIY) |
| Part Retail Markup | $65.00 – $90.00 | $26.99 (Factory Direct) |
| Total Estimated Expense | $260.00 – $390.00 | $26.99 |
| Turnaround Time | 2 to 5 business days | Same-day shipping / 20 min repair |
4. Required OEM Replacement Assembly
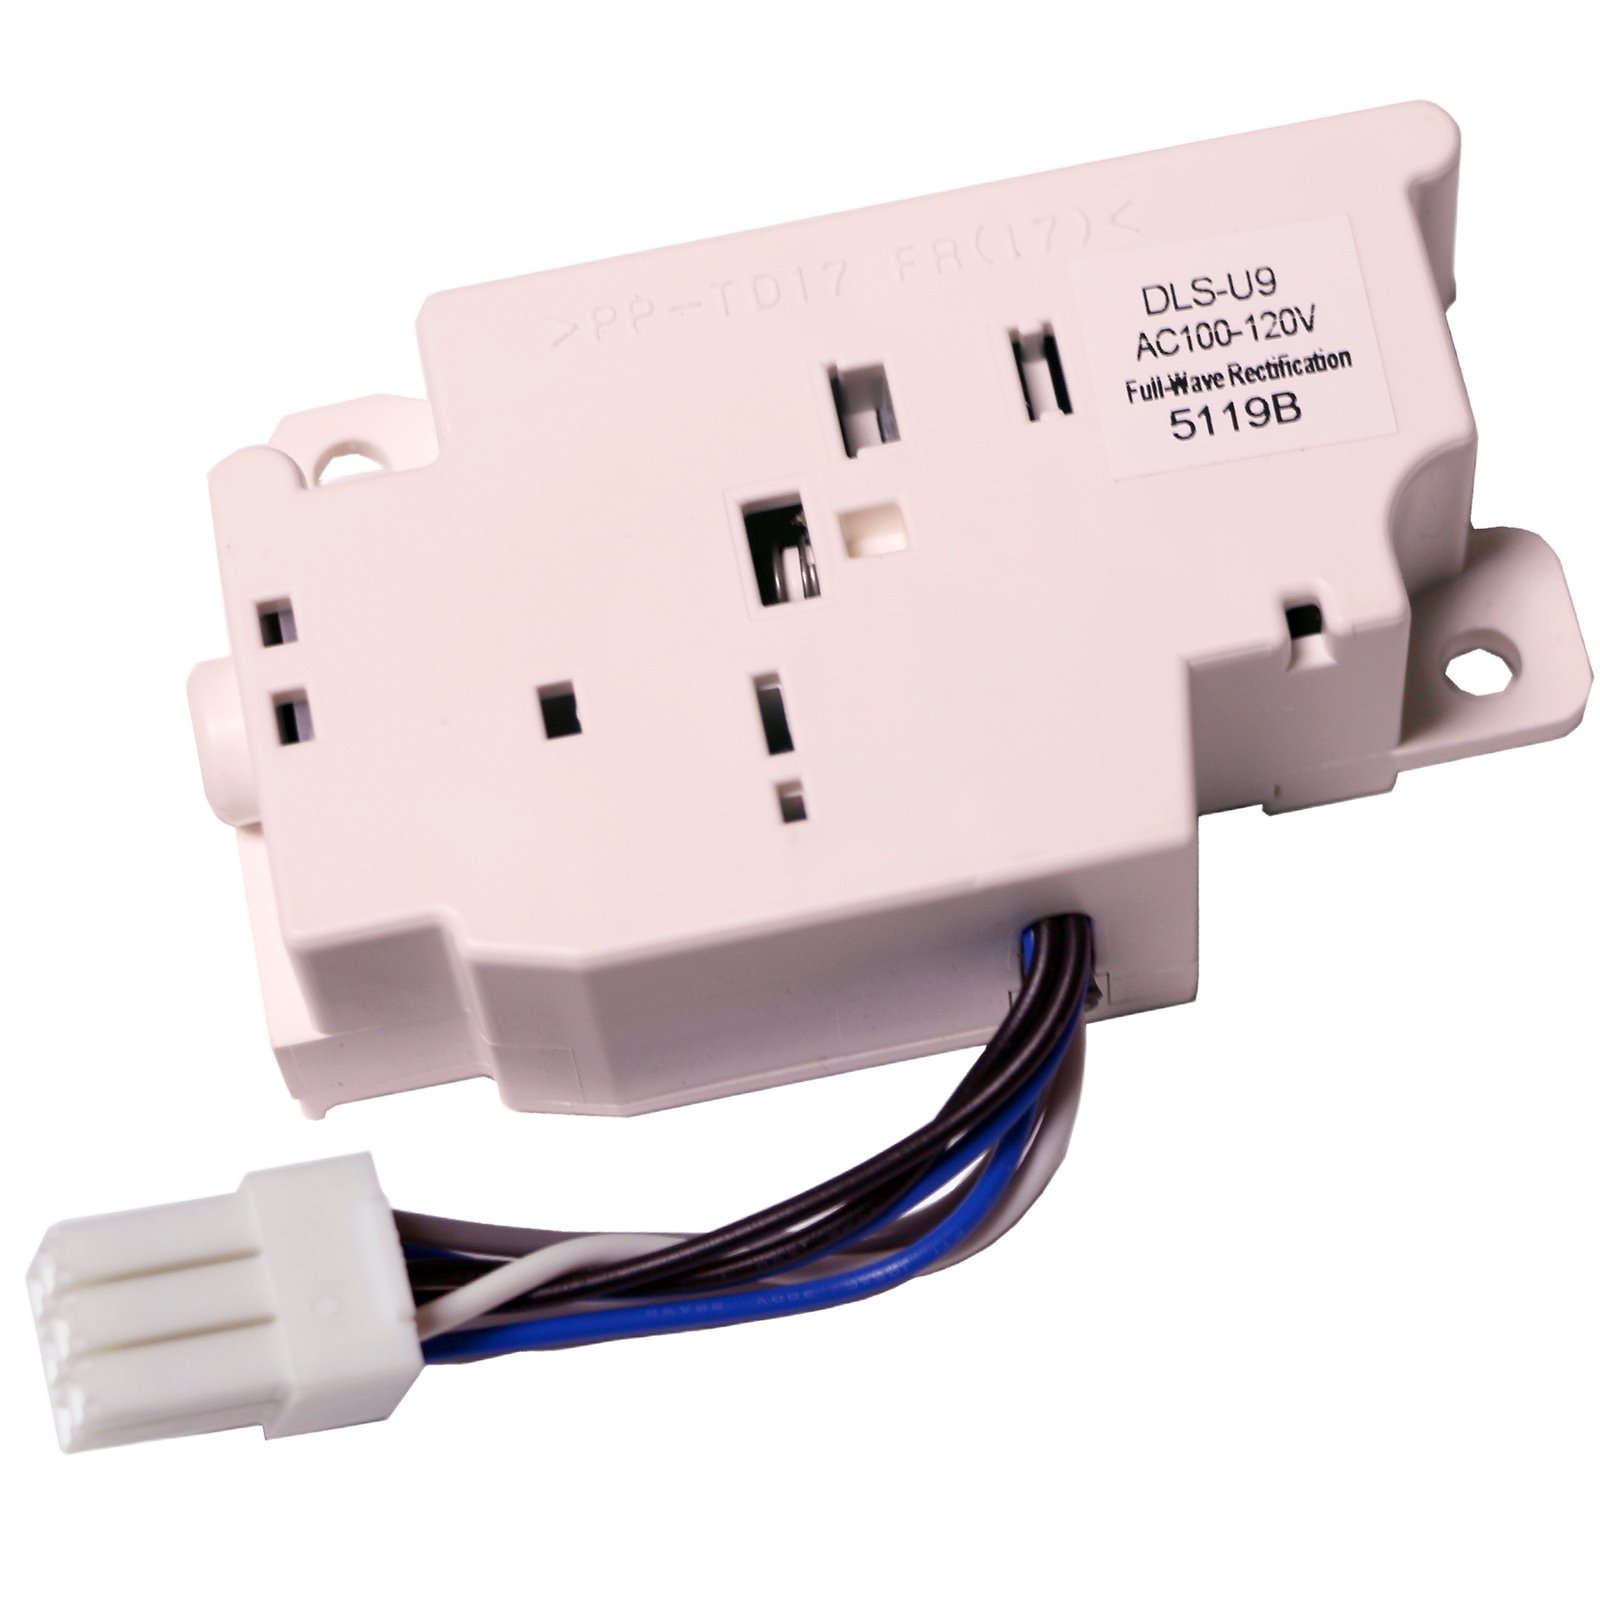
W11371714 Washing Machine Lid Lock Latch Switch Assembly
Cross-Reference / Replaces: W10838613, W11253733, W11307244, 4931139, AP6832601, PS12711590, EAP12711590.
Guaranteed Fit: Whirlpool WTW5000DW, WTW4955HW, WTW4816FW, Maytag MVWC565FW, MVWX655DW, MVWC465HW, Kenmore 110.22352511, 110.25132410, and Amana NTW4516FW series.
- ✓ 365-Day Hassle-Free Return Policy
- ✓ Factory Direct OEM Grade Standard
- ✓ 1-Year Full Replacement Warranty
5. Step-by-Step Replacement Instructions
Required Tools
- Stiff putty knife (1.5″ to 2″ wide) or rigid scraper
- 1/4-inch hex nut driver or magnetic bit
- Small flathead screwdriver
- Work gloves and painter’s tape
Tape the washer lid to the top deck using painter’s tape. Insert your putty knife into the seam between the front cabinet panel and top deck (6″ in from front corners). Push inward while lifting the top panel to release spring clips.
Lift the top cabinet assembly upward and support it securely at a 45–60 degree angle.
Locate the lid lock switch mounted underneath the top deck on the front-right. Using your 1/4″ nut driver, remove the two 1/4″ hex mounting screws holding the lock housing.
Unclip the wire harness retainers along the underside of the deck. Follow the harness to the main control board at the rear console, press the connector locking tab, and pull the plug free.
Position the new latch into the cavity, reinstall the two 1/4″ hex screws, route the harness through factory clips, and plug the connector into the main control board.
Remove lid tape, lower the top deck, and press down firmly on front corners until spring clips click securely. Reconnect power and water.
6. Post-Installation Testing & Verification
- Manual Lid Closure: Close the washer lid firmly and confirm strike tab centers in the bezel.
- Cycle Start Initiation: Select a standard cycle and press Start.
- Audible Lock Confirmation: Listen for the mechanical click; verify the Lid Lock LED turns on solid (not flashing).
- Cycle Completion & Auto-Unlock: At cycle finish, confirm the solenoid unlocks within 30–60 seconds.