
Diagnostic Summary
Refrigerator ice maker failures typically fall into one of seven distinct symptom categories: complete lack of ice production, dispensing failures with a full bin, overflowing production, leaking water, hollow/undersized cubes, strange taste/odor, or a frozen-over mechanical mold. When basic physical checks (such as resetting the feeler shutoff arm, confirming 0°F to 5°F freezer temperature, and replacing a clogged filter) fail to restore ice harvest, internal drive fatigue or an open mold heater circuit in the ice maker module (Part # W11284458) is the primary root cause.
1. Verify Refrigerator Model Compatibility
To confirm that your refrigerator utilizes the modular 8-cube ice maker configuration, locate the rating plate inside the cabinet.
- French Door Models: Look on the upper interior left or right sidewall of the fresh food compartment.
- Side-by-Side Models: Located on the upper ceiling frame or behind the bottom crisper drawer.
- Top-Mount Models: Affixed near the interior temperature control housing in the fresh food section.
Enter your refrigerator model number to verify direct fitment for OEM Modular Ice Maker W11284458.
Database covers over 2,400+ Whirlpool, Maytag, KitchenAid, and Amana refrigeration platforms.
2. The 7 Common Ice Maker Symptoms & Root Cause Breakdown
Reference the technical troubleshooting matrix below to identify the underlying failure mechanism and execute the corresponding field fix:
| Failure Symptom | Primary Root Cause | Technical Mechanism | Corrective Field Action |
|---|---|---|---|
| 1. Not Making Ice / Low Yield | Feeler arm raised; water pressure < 20 PSI; freezer > 10°F; or failed drive motor. | Bi-metal mold thermostat will not close above 10°F (-12°C); stripped nylon gear halts ejector sweep. | Lower feeler arm; adjust freezer to 0°F–5°F; replace module (W11284458) if motor stalls. |
| 2. Not Dispensing Ice | Ice clump in storage bin; clogged chute; or frozen auger drive motor. | Infrequent ice usage fuses cubes into solid mass; auger motor binds on moisture frost. | Defrost storage bin; clear chute blockages; thaw auger motor housing with warm air. |
| 3. Making Too Much Ice | Broken control arm; mispositioned bin; or missing bucket elevation shelf. | Shutoff sensor cannot physically detect rising ice level, allowing continuous harvest cycles. | Inspect feeler arm socket for fractures; reseat ice bin squarely into mounting track. |
| 4. Odd Taste or Odor | Expired water filter (> 6 months); stale ice; unsealed freezer foods. | Carbon filter block saturates with organic contaminants; ice absorbs surrounding food odors. | Install fresh filter cartridge; discard old ice; package frozen foods in airtight wrap. |
| 5. Leaking Water into Bin / Floor | Misaligned fill cup; unlevel refrigerator; melting ice clumps. | Water supply spigot discharges outside fill funnel; condensation drain line backs up. | Align fill tube directly over mold cup; level refrigerator legs with a spirit level. |
| 6. Small or Hollow Cubes | Restricted water flow (< 20 PSI); freezer temperature too low (< -10°F). | Inadequate water fill volume; rapid outer shell freezing triggers premature thermostat ejection. | Inspect water line for kinks; replace clogged filter; set freezer temperature to 0°F (-18°C). |
| 7. Frozen-Over Ice Maker | Frozen water inlet tube; refrigerator section set too cold; air leaks at door seal. | Sub-freezing ambient air creates ice plug inside the water fill nozzle, stopping flow. | Thaw fill tube using low-heat hair dryer; check and replace worn perimeter door gasket. |
3. Repair Cost Analysis: DIY vs. Professional Service
Most ice maker troubleshooting checks cost zero dollars, while complete module replacement requires only a 1/4″ nut driver and 20 minutes of labor:
| Billing Category | Professional Appliance Repair | DIY In-House Replacement |
|---|---|---|
| Diagnostic / Dispatch Fee | $95.00 – $140.00 | $0.00 |
| Standard Labor Rate (1 Hour Minimum) | $110.00 – $180.00 | $0.00 (15–25 mins DIY) |
| Replacement Part Retail Markup | $125.00 – $165.00 | $85.99 (Factory Direct) |
| Total Estimated Expense | $330.00 – $485.00 | $85.99 |
| Completion Lead Time | 3 to 7 Days (Scheduling + Logistics) | Same Day Dispatch / 20 Min Fix |
4. Required OEM Replacement Assembly
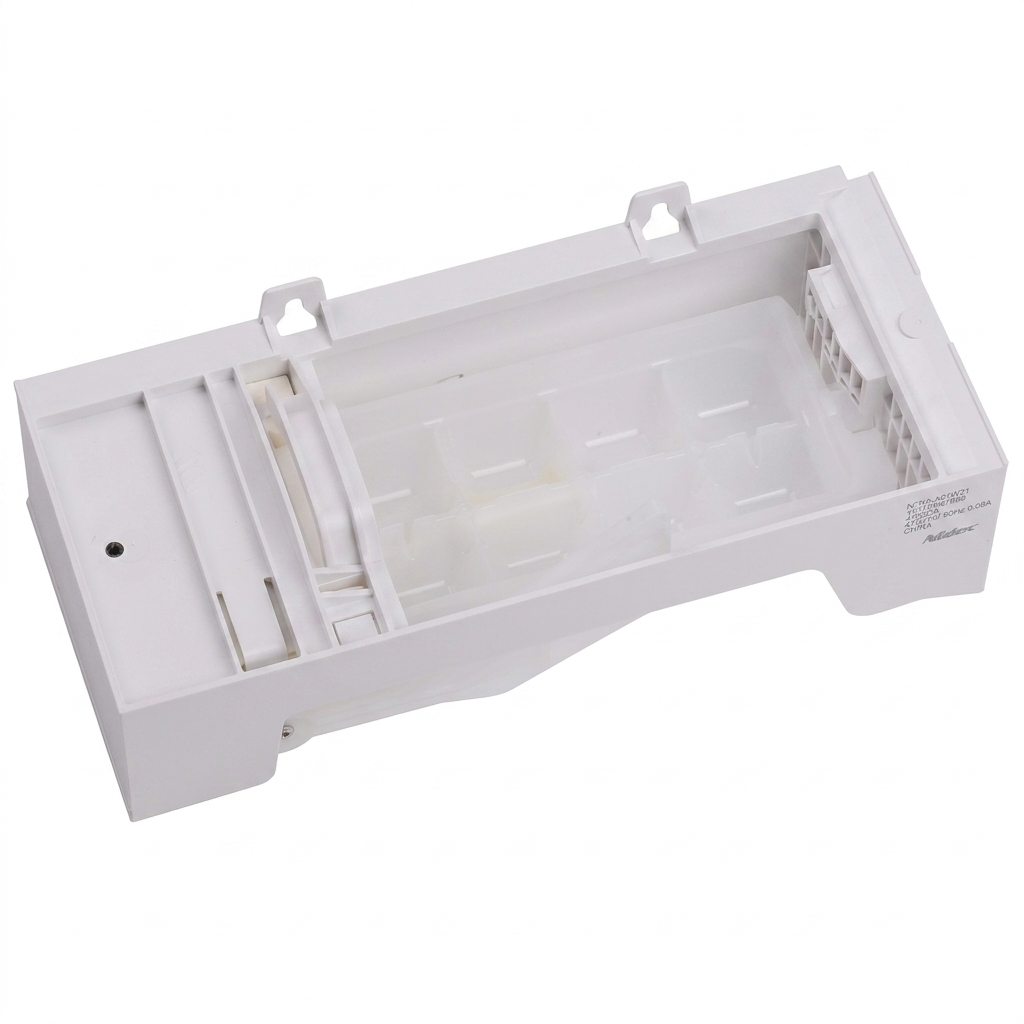
W11284458 Refrigerator Modular Ice Maker Assembly (8-Cube Unit)
Cross-Reference / Replaces: W10882923, W10377151, W10300024, W10300022, 4547289, AP6329734, PS12347524, EAP12347524.
Guaranteed Fit: Whirlpool WRF535, WRF555, WRF560, WRX735, WRS588, Maytag MFI2269, KitchenAid KRFF305, and Amana AFI2538 series.
- Direct OEM replacement modular ice maker assembly
- Replaces W10882923, W10377151, W10300024, W10300022
- Quick-connect harness for Whirlpool, Maytag and KitchenAid
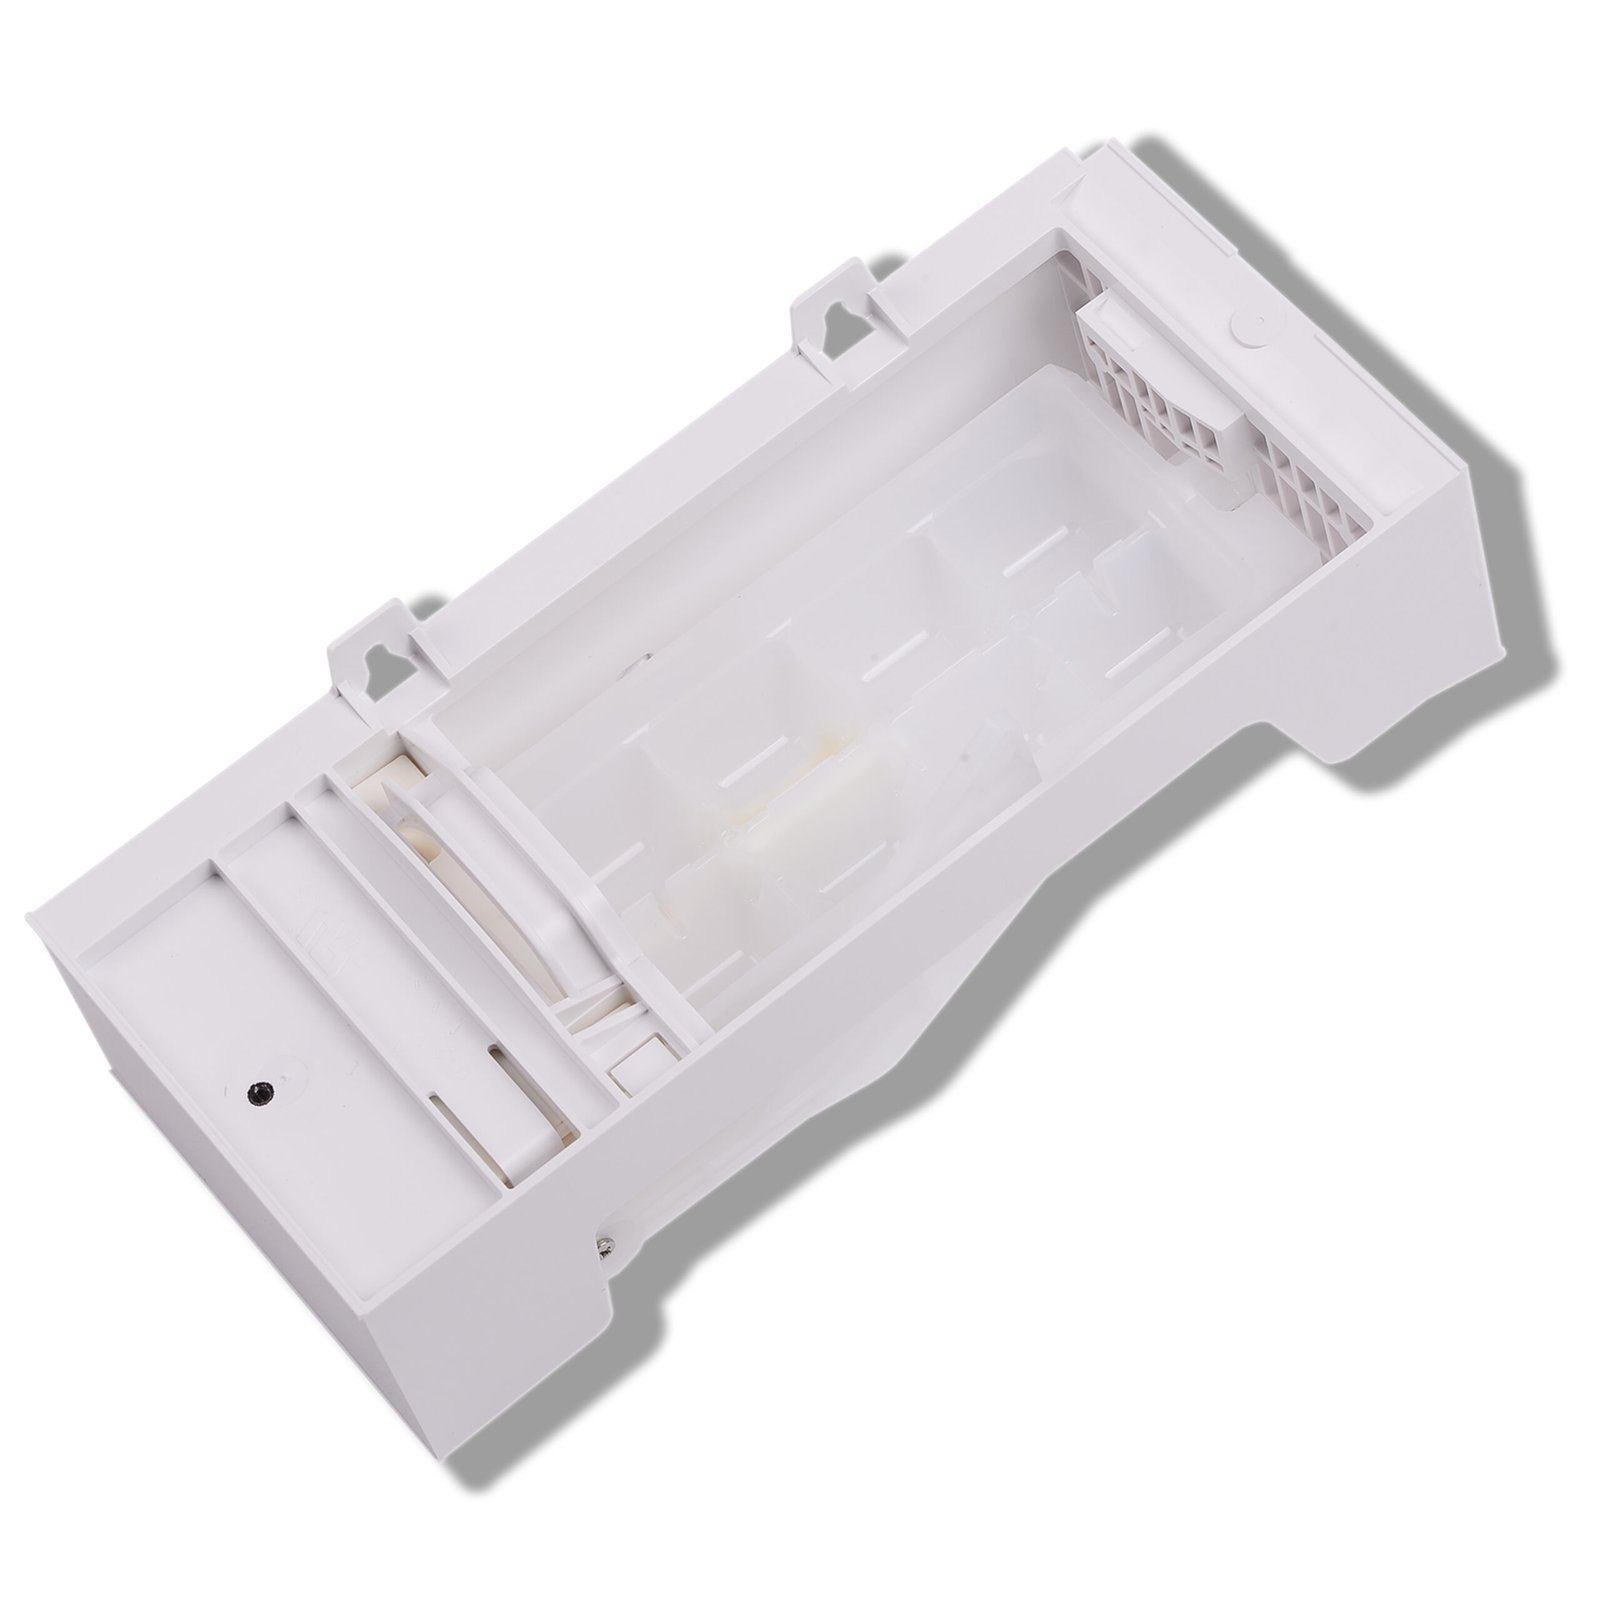
W11455232 Refrigerator Ice Maker Kit
Cross-Reference / Replaces: W11397137, 4962306, EAP16220914, W11284458.
Guaranteed Fit: Whirlpool, KitchenAid, Maytag and Amana refrigerators that use the W11455232 ice maker kit.
- Complete ice maker kit for Whirlpool and KitchenAid refrigerators
- Replaces W11397137, 4962306 and EAP16220914
- Includes the components needed for a 20-minute DIY install
5. Step-by-Step Troubleshooting & Component Replacement
Procedure A: Water Supply & Line Inspection
Pull the refrigerator forward. Inspect the supply tubing behind the unit for sharp bends or pinch points. Confirm that the saddle valve or ball valve at the water line is fully open and delivers at least 20 PSI. If your filter is older than 6 months, remove it and check water flow using the internal bypass valve.
Procedure B: Thaw a Frozen Fill Tube Spout
Locate the rubber fill tube spout at the top rear of the ice maker mold. If an ice plug is visible, unplug the refrigerator and warm the spout with a hair dryer on low heat. Keep the air stream moving continuously to prevent warping the plastic liner until water drains freely into a shop towel.
Procedure C: Modular Ice Maker Replacement (W11284458)
Remove the ice storage bin. Using a 1/4″ nut driver, loosen the two upper mounting screws 3 full turns counter-clockwise (do not remove completely). Remove the single 1/4″ hex fastener securing the lower stabilizer bracket. Lift the assembly upward off the loosened screws and disconnect the multi-pin modular wiring harness.
Plug the wiring harness connector firmly into the new W11284458 module until the locking clip clicks. Hang the mounting bracket slots over the upper wall screws, tighten both upper screws securely, and reinstall the bottom stabilizer fastener. Place a small torpedo level across the mold body to confirm it sits level, then slide the ice storage container back into place.
6. Post-Service Testing & Operational Verification
- Lower the Feeler Arm: Ensure the wire bail arm or optical sensor paddle is in the lowered (ON) position.
- Verify Freezer Temperature: Confirm the freezer operates steadily between 0°F and 5°F (-18°C to -15°C). The internal bi-metal thermostat will not close to permit water filling until the mold drops below 15°F (-9°C).
- First Production Cycle: The replacement module will complete its first water fill and cube harvest within 2 to 4 hours.
- Discard Initial Batches: Discard the first 2–3 full batches of ice cubes to ensure all supply lines are cleared of trapped air pockets and sediment.