

Diagnostic Summary
When a Whirlpool refrigerator stops producing ice, testing whether the door water dispenser still flows cuts the diagnostic path in half immediately. If the water dispenser operates normally, household supply lines and main water valves are functional, isolating the failure to an elevated feeler shutoff arm, a freezer temperature above 10°F (-12°C), a frozen fill tube spout, or a defective modular drive assembly (Part # W11284458). If water is stopped at both the dispenser and ice maker, the problem is on the supply line, shutoff valve, or dual inlet valve solenoid.
1. Verify Refrigerator Model Compatibility
To confirm that your refrigerator utilizes the modular 8-cube ice maker configuration, locate the rating plate inside the cabinet.
- French Door Models: Look on the upper interior left or right sidewall of the fresh food compartment.
- Side-by-Side Models: Located on the upper ceiling frame or behind the bottom crisper bin.
Enter your refrigerator model number to verify direct fitment for OEM Modular Ice Maker W11284458.
Database matches over 2,400+ Whirlpool, Maytag, KitchenAid, and Amana configurations.
2. The 60-Second Initial Check (Zero-Cost Fixes)
Before testing electrical circuits or ordering components, perform these three physical checks that account for over 30% of field service calls:
Initial Verification Checklist
- Check the Wire Feeler Arm: On in-freezer modular units, the wire shutoff arm sweeps down during each harvest. When removing or emptying the ice bucket, the arm is frequently bumped into the locked UP (OFF) position. Pull the ice bin out, look at the right side of the module, and push the wire arm down until it clicks into the lower position.
- Check the Power Switch: Ensure the rocker switch on the face of the ice maker (or compartment wall) is switched to ON (I).
- Check Optical Sensor Bin Seating: On models equipped with infrared optics (such as WRS571CIHZ), if the ice container is misaligned by even 1/4 inch, the infrared beam is broken, locking the board into a false “Bin Full” state. Reseat the container firmly in its track.
3. Diagnostic Decision Tree & Failure Mode Analysis
Use the single-question diagnostic split below to isolate whether the failure is on the household plumbing side or the ice maker module side:
| Diagnostic Symptom | Probable Cause | Failure Probability | Inspection & Corrective Step |
|---|---|---|---|
| No ice, but water dispenser flows normally | Feeler arm up; freezer >10°F; frozen fill tube; or failed ice maker head module. | 50% | Check arm position; verify freezer is 0°F–5°F with thermometer; inspect fill tube with flashlight; test module reset. |
| No ice AND no water from door dispenser | Closed supply shutoff valve; kinked PEX tubing; clogged water filter; or failed inlet valve. | 25% | Check saddle valve behind fridge; inspect water line for kinks; replace water filter; test 120V at valve coil. |
| Ice maker clicks, but tray never fills with water | Frozen fill tube ice plug OR defective water inlet valve solenoid coil. | 15% | Thaw fill tube using low-heat hair dryer. Test inlet valve coil resistance with multimeter (240–280 Ω normal). |
| Ice cubes are hollow, small, or sluggish | Clogged water filter; water pressure below 20 PSI; or restricted line. | 10% | Remove filter to test bypass flow rate. If flow improves, install a fresh filter cartridge. |
4. Model-Specific Configurations & Sensor Protocols
Whirlpool produces multiple ice delivery configurations across its North American product lines:
| Model Series | Cabinet Configuration | Level Sensing Mechanism | Key Field Service Note |
|---|---|---|---|
| WRS588FIHZ / WRS325SDHZ | Side-by-Side (In-Freezer) | Mechanical Feeler Arm | Feeler arm easily bumped when pulling bin; hard water accelerates internal mold scale. |
| WRX735SDBM | 4-Door French Door (Dual Ice) | Arm (Freezer) + Optics (Door) | Dual system: in-door unit is prone to door hinge harness strain and fill tube freezing. |
| WRF555SDFZ / WRF535SWHZ | French Door (In-Freezer) | Mechanical Feeler Arm | Fill tube freeze is common; module drive motor fatigue requires W11284458 replacement. |
| WRS571CIHZ | Side-by-Side (In-Freezer) | Infrared Optical Sensor | Optics receiver board LED diagnosis; bin misalignment blocks infrared emitter beam. |
5. Repair Cost Breakdown: Professional Service vs. DIY Replacement
Replacing a modular ice maker assembly requires only a 1/4″ nut driver and takes approximately 20 minutes. Review the direct expense comparison below:
| Billing Category | Professional Appliance Repair | DIY In-House Replacement |
|---|---|---|
| Diagnostic Service Call Fee | $95.00 – $140.00 | $0.00 |
| Standard Labor Rate (1 Hour Minimum) | $110.00 – $180.00 | $0.00 (15–25 mins DIY) |
| Replacement Part Retail Markup | $125.00 – $165.00 | $85.99 (Factory Direct) |
| Total Estimated Expense | $330.00 – $485.00 | $85.99 |
| Completion Lead Time | 3 to 7 Days for Technician Visit | Same Day Dispatch / 20 Min Fix |
6. Required OEM Replacement Assembly
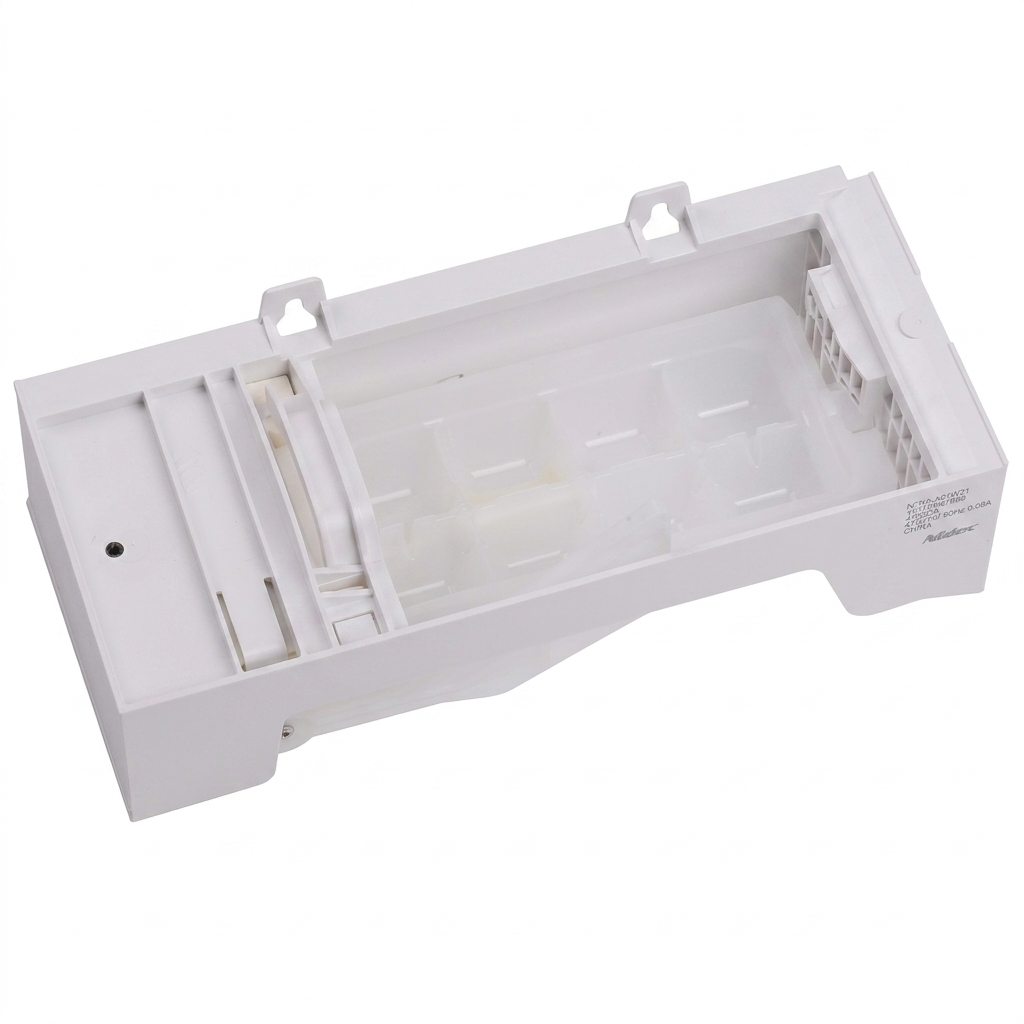
W11284458 Refrigerator Ice Maker Assembly (8-Cube Modular Unit)
Cross-Reference / Replaces: W10882923, W10377151, W10300024, W10300022, 4547289, AP6329734, PS12347524, EAP12347524.
Guaranteed Fit: Whirlpool WRF535, WRF555, WRF560, WRX735, WRS588, Maytag MFI2269, KitchenAid KRFF305, and Amana AFI2538 series.
- Direct OEM replacement modular ice maker assembly
- Replaces W10882923, W10377151, W10300024, W10300022
- Quick-connect harness for Whirlpool, Maytag and KitchenAid
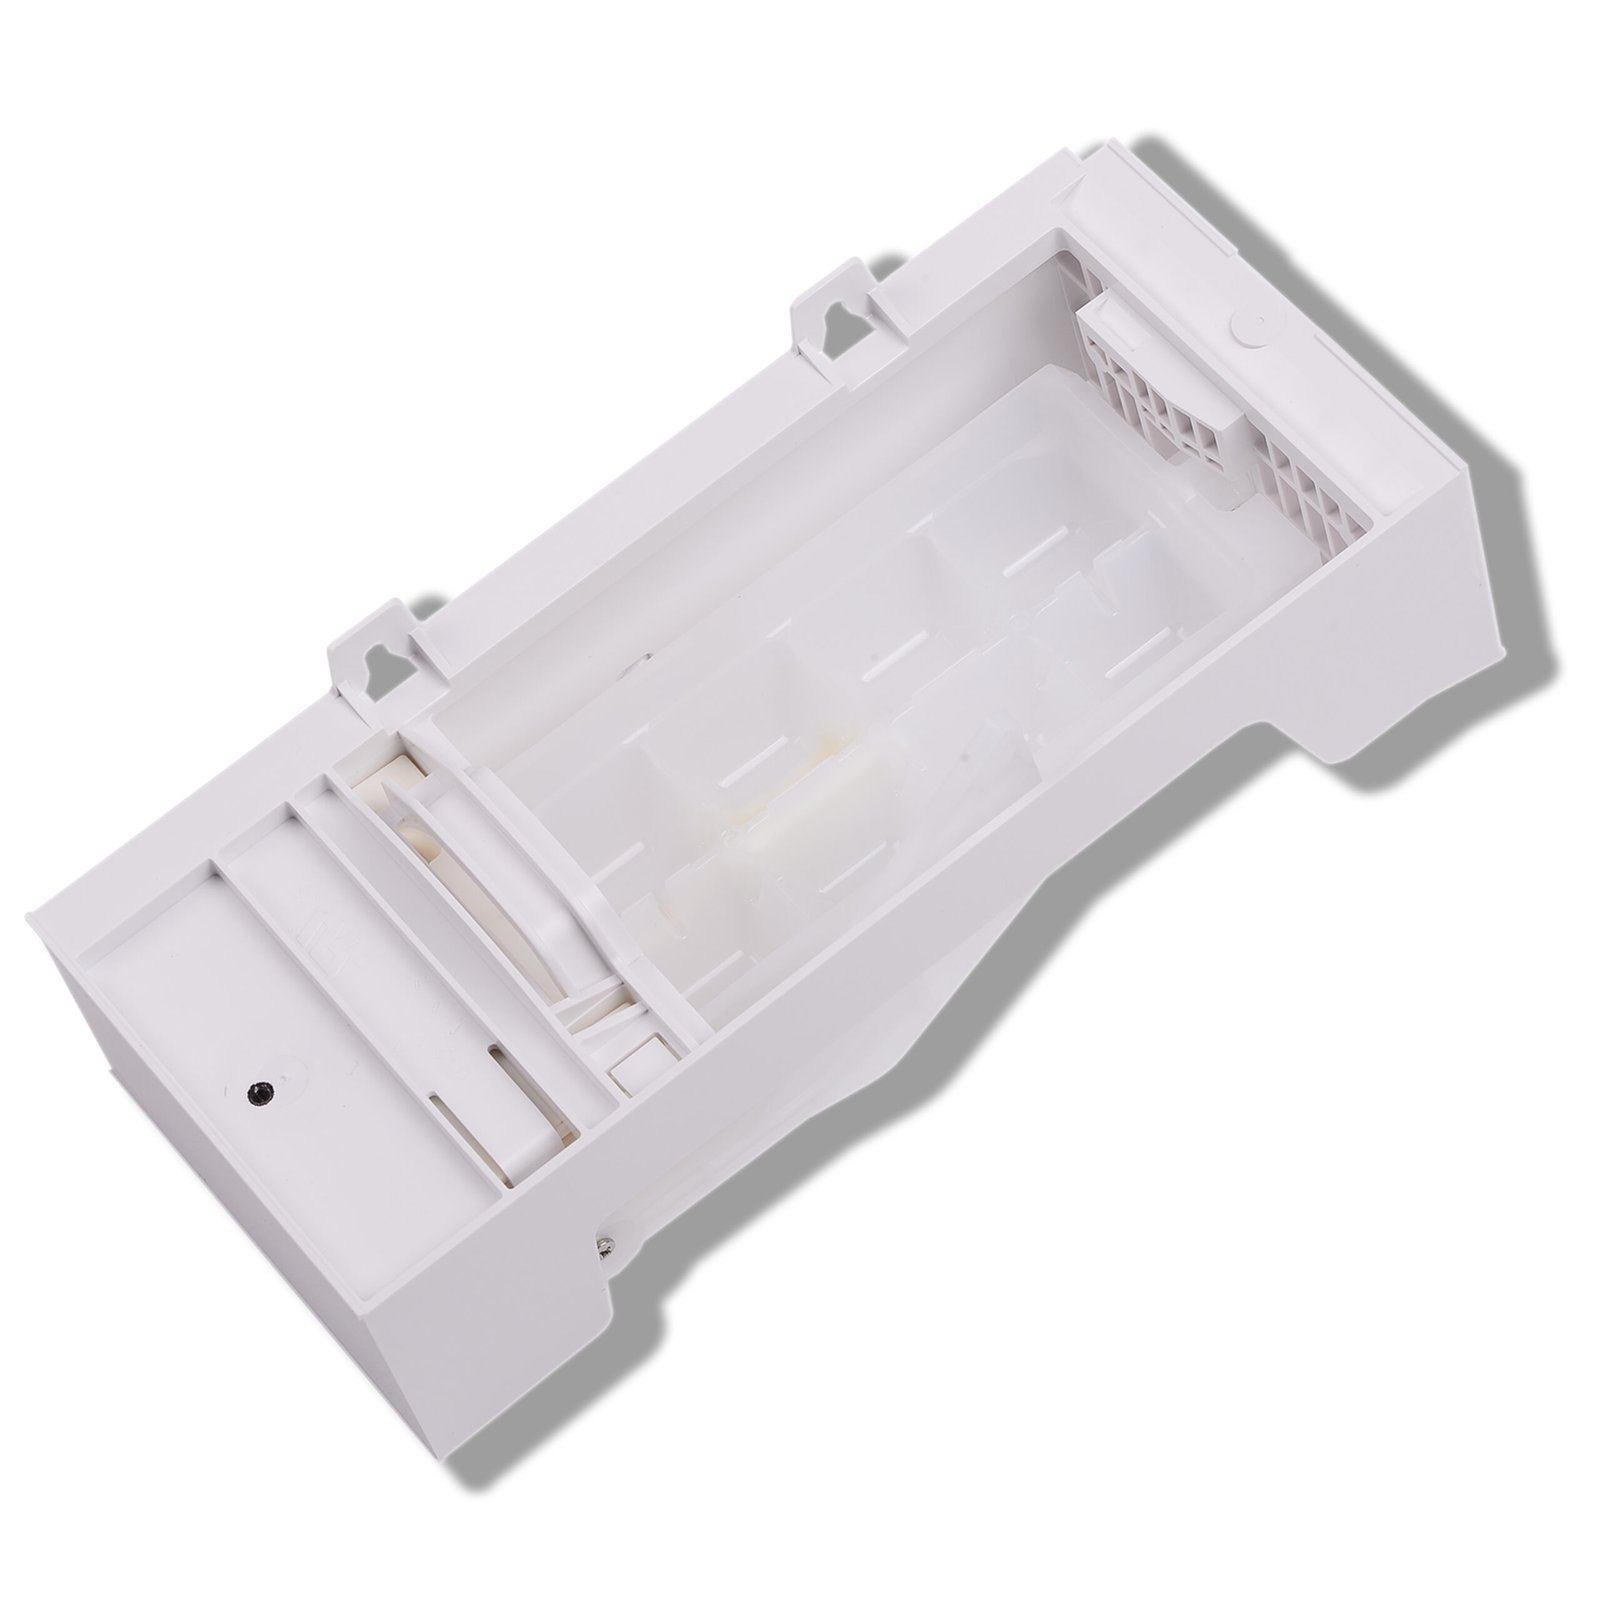
W11455232 Refrigerator Ice Maker Kit
Cross-Reference / Replaces: W11397137, 4962306, EAP16220914, W11284458.
Guaranteed Fit: Whirlpool, KitchenAid, Maytag and Amana refrigerators that use the W11455232 ice maker kit.
- Complete ice maker kit for Whirlpool and KitchenAid refrigerators
- Replaces W11397137, 4962306 and EAP16220914
- Includes the components needed for a 20-minute DIY install
7. Step-by-Step Troubleshooting & Component Replacement
Procedure 1: Thawing a Frozen Fill Tube
Inspect the rubber or plastic fill tube spout entering the top rear of the ice maker mold. If a solid ice plug is visible, unplug the refrigerator. Use a hair dryer on low heat setting, keeping the nozzle moving continuously to avoid warping the liner, until all ice melts and drains freely into a shop towel.
Procedure 2: Resetting the Ice Maker Module
Locate the small rectangular reset button on the bottom of the module (or on the underside of in-door housings). Press and hold for 3 to 10 seconds until you hear an audible chime or feel the drive motor engage. Watch the ejector blades rotate through a 360-degree sweep and verify the water valve energizes near the completion of the cycle. If the motor stalls or hums without rotating, the module drive has failed.
Procedure 3: Replacing the Ice Maker Assembly (W11284458)
Remove the ice bin. Using a 1/4″ nut driver, loosen the two upper mounting screws 3 full turns counter-clockwise (do not remove completely). Remove the single 1/4″ hex screw from the bottom stabilizer bracket. Lift the assembly upward off the upper screws and disconnect the multi-pin modular wiring harness.
Plug the wire harness connector firmly into the new W11284458 assembly until the locking clip snaps into place. Hang the mounting bracket slots over the upper wall screws, tighten both upper screws securely, and reinstall the lower stabilizer fastener. Slide the ice storage container back into place.
8. Post-Installation Testing & Operational Verification
- Verify Feeler Arm Down: Confirm the wire bail arm is lowered in the operating position.
- Check Temperature Threshold: Confirm the freezer operates between 0°F and 5°F (-18°C to -15°C). Above 10°F (-12°C), the internal mold thermostat will not close to permit water filling.
- First Production Cycle: Allow 2 to 4 hours for the mold to reach operating temperature and complete its first automatic harvest.
- Discard Initial Ice: Discard the first 2–3 full batches of ice cubes to clear residual carbon dust or air pockets from the supply lines.